


You’ve planned your trip to India for months – flights, hotels, and itinerary almost ready. Then comes the India visa application form, and suddenly the questions start piling up.
How many blank passport pages do you need? Which photo format is accepted? Do you need hotel bookings or financial proof?
Confusion is common, and mistakes can cost time and money. This guide walks you through all the India Tourist Visa documents required to get your application right the first time.
If you’re planning your first visit, read our complete First Time Travel Guide to India covering arrival planning, transport, safety, money, SIM cards, and essential travel tips for foreign tourists.
Table of Contents showQuick Answer Guide: For an India Tourist eVisa, you need:
- Travel insurance (optional)
- Valid passport (6+ months)
- Recent digital passport photo (JPEG, white background)
- Scanned passport bio-data page
- Return/onward ticket
- Proof of accommodation
- Bank statement (sometimes required)
India Tourist Visa Documents Required: Quick Overview
Before diving deep, here’s what most travelers need at a glance:
eVisa (Electronic Travel Authorization)
- Apply online via indianvisaonline.gov.in
- Processing: 72–96 hours
- Digital documents only
- Designated airports/seaports only
- Stay: 30–90 days, multiple entries sometimes
Regular Tourist Visa
- Apply via Indian embassy/consulate
- Processing: 5–15 business days
- Physical documents required
- Entry via most ports
- Stay: Up to 180 days, extendable
Who Needs an India Tourist Visa?
Most foreign nationals need a visa to enter India. A small group of countries — including Nepal and Bhutan — are exempt.
For most travelers, there are two practical options:
eVisa (Electronic Travel Authorization) — Applied for entirely online, processed in 72 hours on average, and linked electronically to your passport. Available to citizens of 160+ countries.
Regular Tourist Visa (Sticker Visa) — Applied for through an Indian embassy or consulate. Required if you’re ineligible for eVisa or prefer a longer-stay visa.
If you’re a first-time traveler applying from the US, UK, EU, Australia, Canada, or most of Asia, the eVisa is almost certainly your route.
If you’re unsure which visa type to choose or how the application process works, follow our complete India Tourist Visa Guide for First-Time Travelers.
eVisa vs Regular Tourist Visa: Key Differences
Factor | e-Visa | Regular Visa |
Where to Apply | Online (indianvisaonline.gov.in) | Indian Embassy / Consulate |
Processing Time | 72–96 hours (sometimes faster) | 5–15 business days |
Physical Documents Needed | No (all digital uploads) | Yes (physical submission) |
Entry Points | Designated ports only | Most ports |
Stay Duration | Up to 30 or 90 days (varies) | Up to 180 days |
Multiple Entry | Limited or double entry | Available |
Extension in India | Not extendable | Sometimes extendable |
Practical note: eVisa is valid only at designated airports and seaports. If you plan to cross into India by land from Nepal or Bhutan, you’ll need a regular sticker visa. Always verify entry point eligibility before applying.
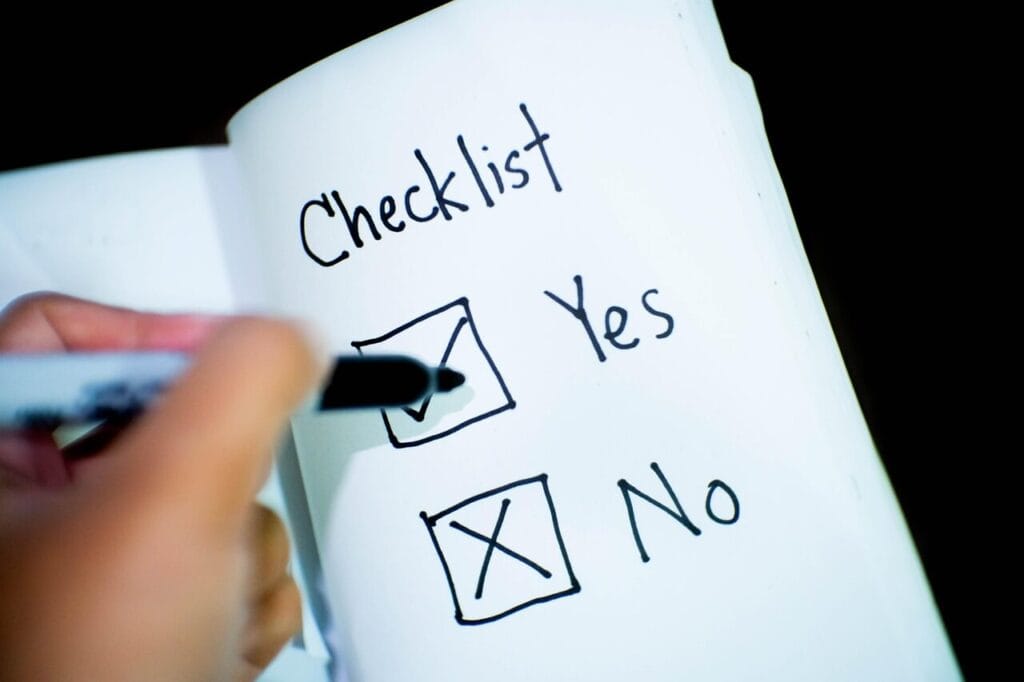
Complete India Tourist Visa Checklist
eVisa Applicants Need:
- Passport valid 6+ months
- 2+ blank passport pages
- Scanned bio-data page (JPEG/PDF <1MB)
- Passport photo (white background, JPEG)
- Return/onward flight ticket
- Accommodation proof
- Bank statement (recommended)
- Travel insurance (optional)
Regular Visa Applicants Need:
- Completed visa application form
- Physical passport photos (as per Indian mission)
- Original passport + photocopy of bio-data page
- Cover letter (purpose of visit)
- Confirmed return ticket
- Hotel booking or host invitation
- Bank statements (3–6 months)
- Proof of employment/business
- Travel insurance documents
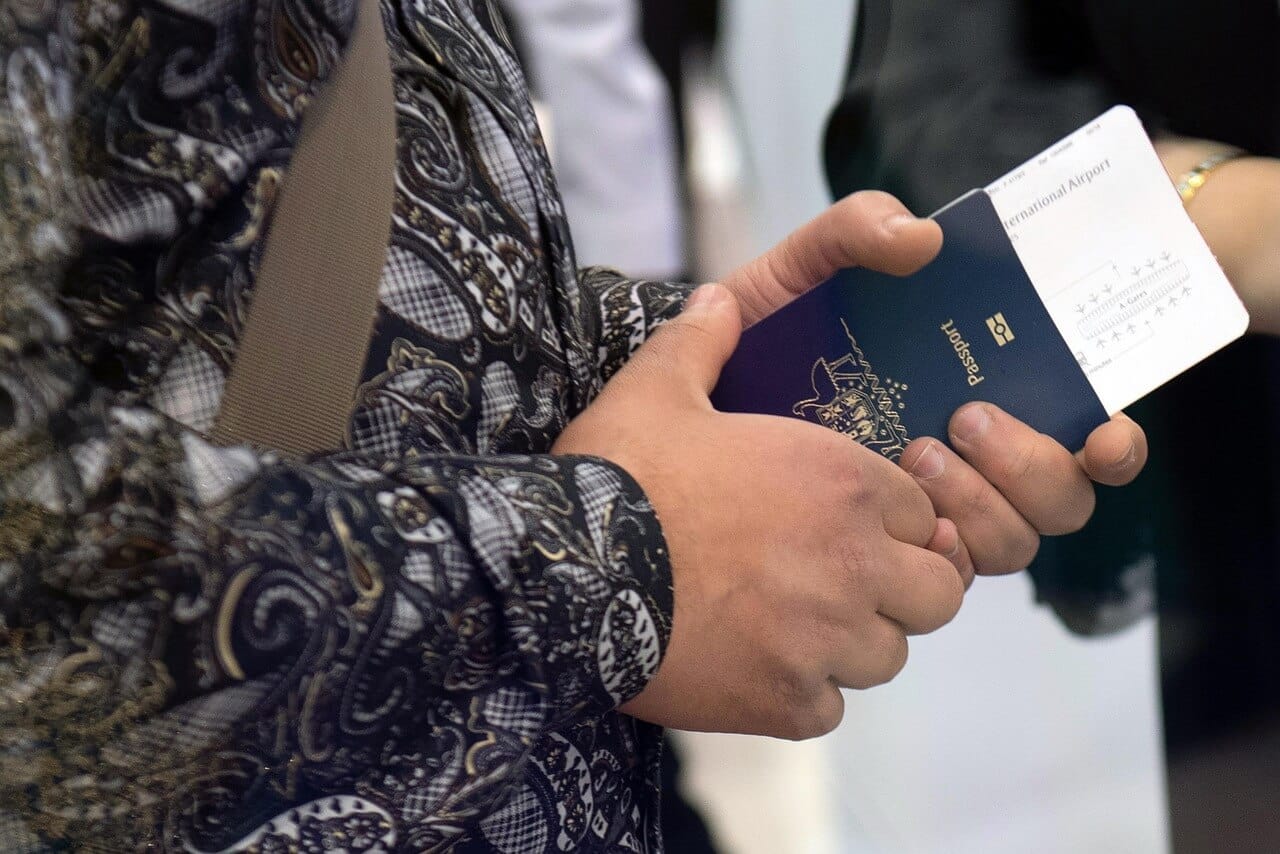
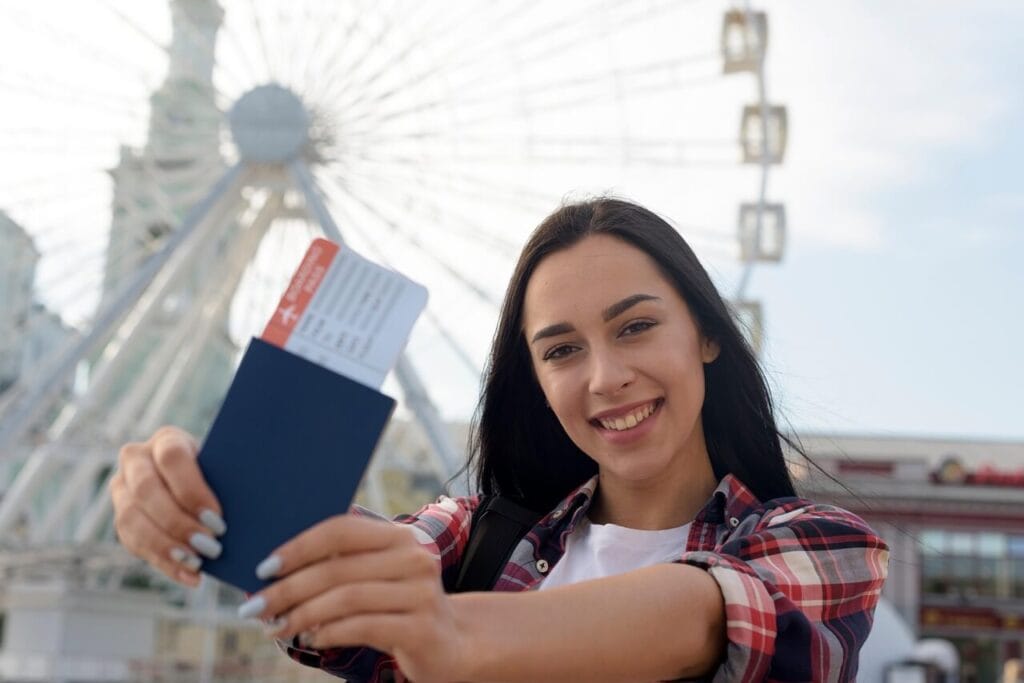
Passport & Photo Requirements for India Travel
Passport Requirements
- Minimum validity: 6+ months beyond departure date
- At least 2 blank pages
- Passport in good condition (no tears, water damage)
India Visa Photo Requirements
- JPEG format, square (350x350px minimum)
- White background only
- Face centered, eyes open, no glasses
- No headwear (except religious)
- Taken within last 6 months
- File size: 10KB–1MB
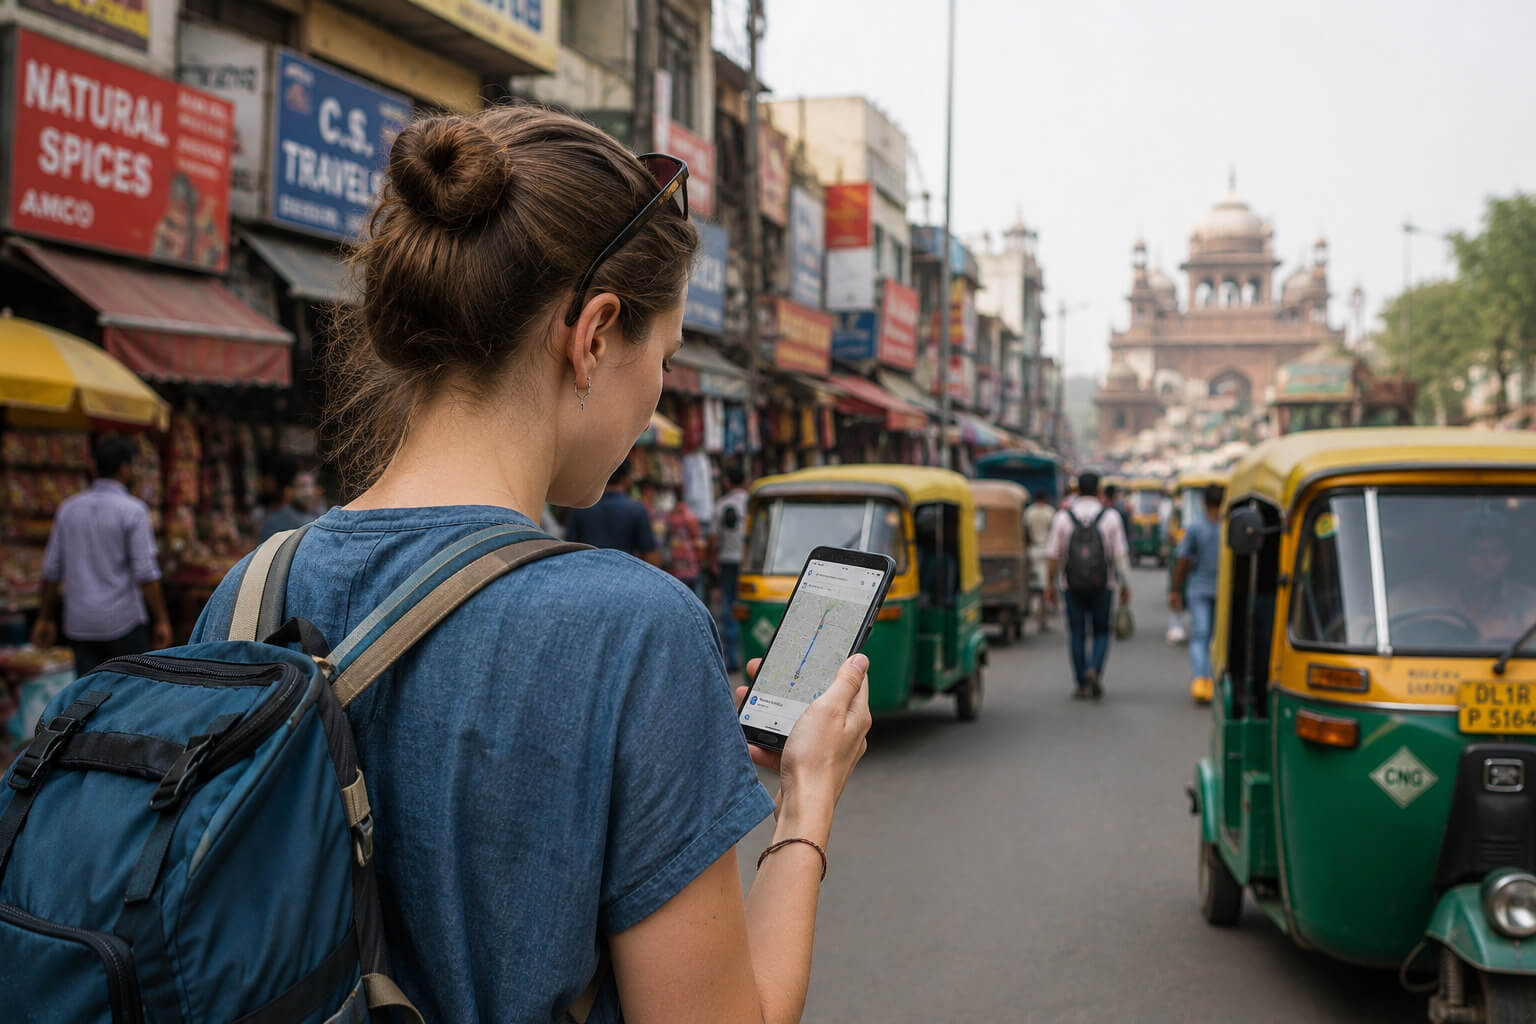
Do Travelers Need Hotel Bookings or Return Tickets?
This is the question that creates the most forum debates. Here’s the practical answer:
Return/onward tickets: Technically not mandatory in the eVisa form, but Indian immigration at the airport can ask for proof that you’re leaving.
Travelers who don’t have a return ticket have been denied boarding by airlines and questioned at immigration. Book at least a flexible onward ticket before traveling.
Hotel bookings: The eVisa form asks for an address in India. You don’t need a paid, non-refundable booking — a hotel reservation, a friend’s address, or an Airbnb confirmation all work.
If you’re traveling as a backpacker with no fixed plan, book one refundable night somewhere as your official address.
What immigration can ask: Even after eVisa approval, Indian immigration officers can request to see accommodation proof, return tickets, and financial proof at the port of entry. Having these ready prevents delays.
Do travelers need confirmed hotel bookings for India visas? The eVisa form requires an address in India, but a confirmed paid booking is not mandatory.
A hotel reservation, a host’s address, or a flexible booking confirmation is acceptable. However, have proof of accommodation ready at immigration — officers can and do ask for it on arrival.
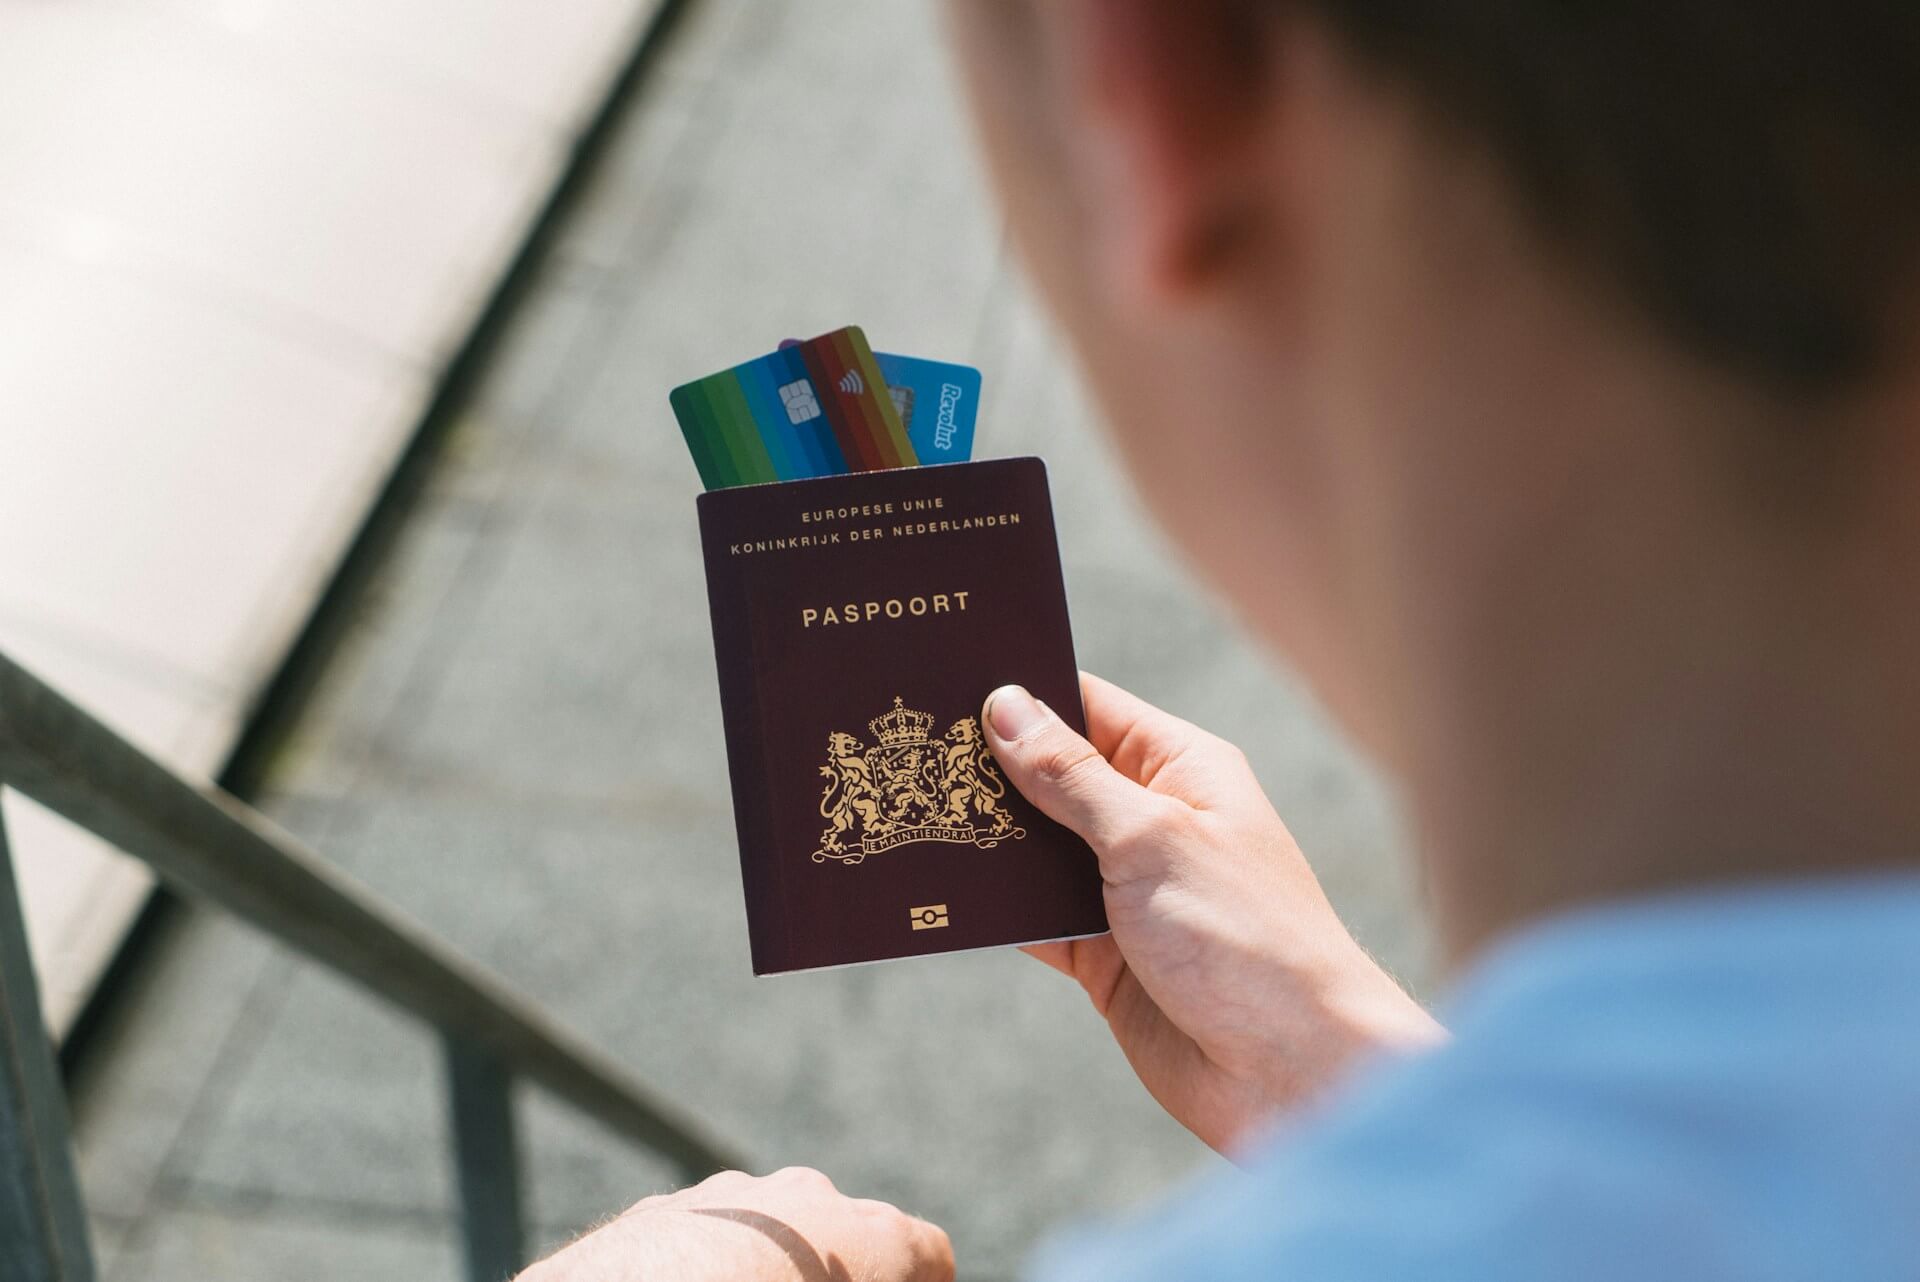
Financial Proof Requirements for India Visa
For eVisa applicants, financial proof is not always a mandatory upload – but it matters at immigration. Indian immigration officers may ask how you plan to fund your stay.
After arriving, many foreign travelers also want to know whether tourists can use UPI payments in India for shops, taxis, restaurants, and online bookings.
Financial Proof for eVisa:
- Recent 3-month bank statement
- Credit card in your name
- Shows funds for accommodation, daily expenses, and return travel
Tip: Even if not mandatory, carry proof to avoid delays. A reasonable general guideline is to show enough to cover your accommodation, daily expenses, and return travel for the duration of your stay.
How to Prepare Passport Scans and Uploads Correctly
The eVisa portal has specific upload requirements. Getting this wrong means your application stalls.
Passport bio-data page scan:
- JPEG or PDF format
- File size: under 300KB (some applications allow up to 1MB – check the portal at time of application)
- Scan must be clear, flat, and fully visible – no corners cut off, no glare
- All text on the bio-data page must be readable
How to compress files:
- Use tools like Smallpdf, ILoveImg, or Squoosh to reduce file size without losing clarity
- After compressing, zoom in and verify all text is still sharp before uploading
Common upload failure reasons:
- File too large
- Wrong format (PNG uploaded instead of JPEG)
- Bio-data page partially cut off during scan
- Photo background not white enough
If a file is rejected by the portal, don’t just re-upload the same file. Fix the specific issue first.
What Travelers Usually Get Wrong About India Visas
1. Passport validity miscalculation Travelers check that their passport doesn’t expire before their trip. They forget the 6-month-beyond-departure rule. Application gets flagged or entry is denied.
2. Wrong photo background Light cream walls look white in person but photograph as off-white. The portal rejects the image, or worse — it gets flagged during manual review after submission.
3. Inconsistent name spelling Your name on the visa application must match your passport exactly. A middle name omitted, a hyphen missing, or a different transliteration causes problems at immigration.
4. Wrong visa category Applying for a business visa to attend a yoga retreat, or a tourist visa when you intend to volunteer — both create issues at immigration. Use the tourist visa for leisure travel only.
5. Not saving the application reference number The eVisa portal generates a reference number mid-application. If the session times out, you need that number to retrieve your application. Many travelers lose it and restart unnecessarily.
6. Applying too early or too late The India eVisa is typically valid from the date of issue, not the date of travel. Apply too early and it may expire before your trip ends. Apply too late and it may not process in time. The ideal window is 4–7 days before departure.
How can travelers avoid India visa rejection?
Common rejection reasons include: passport with less than 6 months validity, incorrect photo format or background, inconsistent name spelling between application and passport, applying for the wrong visa category, and uploading unclear or oversized document files.
Verify all details match your passport exactly and follow photo specifications precisely before submitting.
More rejection causes:
- Prior visa violations in India (overstaying a previous visa)
- Previous deportation from India or other countries
- Incomplete application form
- Applying from a country where your nationality doesn’t qualify for eVisa
- Travel to restricted areas (some regions require special permits beyond a tourist visa)
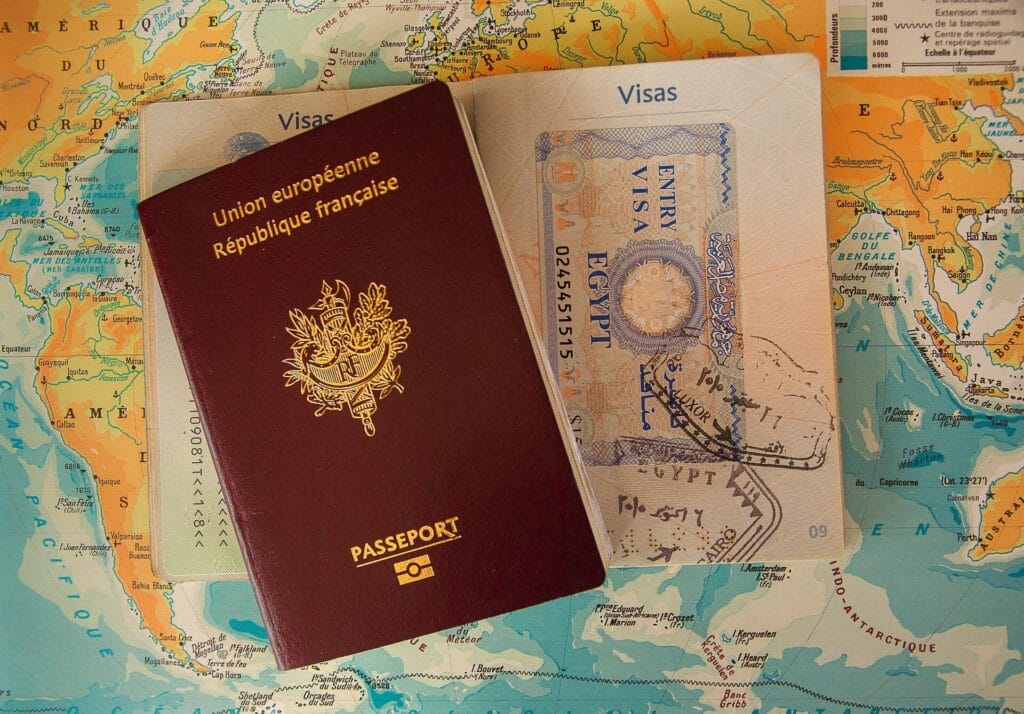
Document Requirements by Nationality
India’s visa rules aren’t identical for every passport holder. A few key variations:
US, UK, EU, Canada, Australia: Eligible for eVisa. Standard requirements apply.
Pakistan, Afghanistan, certain other nationals: eVisa not available. Must apply through Indian missions. Additional documentation may be required.
Nepal and Bhutan nationals: No visa required. Free entry for most purposes.
Children: Children traveling on a parent’s passport (in some countries) need their details added carefully during application. Children with their own passports follow standard adult requirements.
Always verify requirements specific to your nationality on the official Indian Visa Online portal or check with your nearest Indian embassy. Requirements change — what applied 18 months ago may not apply now.
What to Carry After Visa Approval
Once your eVisa is approved, you receive a confirmation email. Here’s what that means for what you carry:
The eVisa is linked electronically to your passport. You do not receive a physical sticker. Immigration reads your visa status digitally when you scan your passport.
What you should still carry:
- A printed copy of your eVisa approval email (ETA confirmation)
- A digital copy saved offline (not just in your email inbox — download it)
- Your return/onward flight ticket (digital or printed)
- Accommodation proof (first hotel booking or host address)
- Travel insurance documents
- Bank statement or financial proof
Why carry printed copies if the visa is electronic? Because systems go down, officers sometimes request to see physical confirmation, and having it costs nothing. The risk of not having it is higher than the inconvenience of printing two pages.
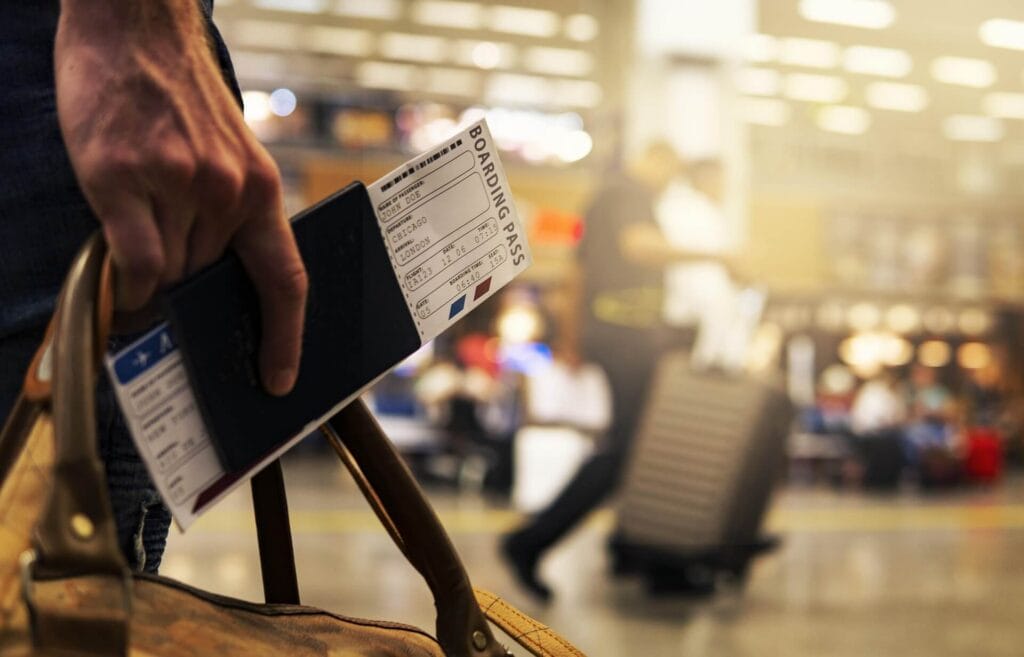
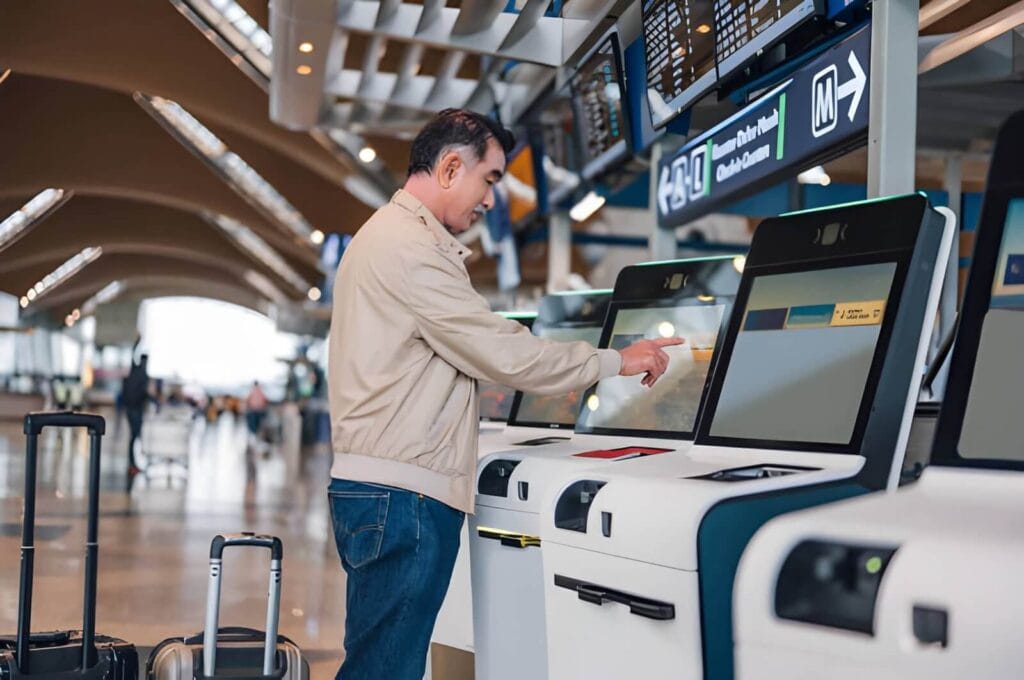
Arrival Preparation: Documents to Keep Accessible at the Airport

Don’t bury important documents in the bottom of your checked bag. After immigration, follow our India airport arrival guide covering SIM cards, prepaid taxis, currency exchange, baggage handling, and airport navigation for first-time visitors.
Compare airport exchange counters, local banks, and money changers before converting cash in India.
Keep in your carry-on or easily accessible:
- Passport
- eVisa approval printout
- Return ticket confirmation
- Hotel booking for first night
- Emergency contact details (written, not just stored on your phone)
- Any prescription medication documentation (carry originals)
At Indian immigration:
- You’ll queue at the e-gate or officer counter depending on the airport
- Have your passport open to the bio-data page
- Be ready to confirm your accommodation address and return date
- Don’t volunteer information beyond what’s asked, but answer clearly and directly
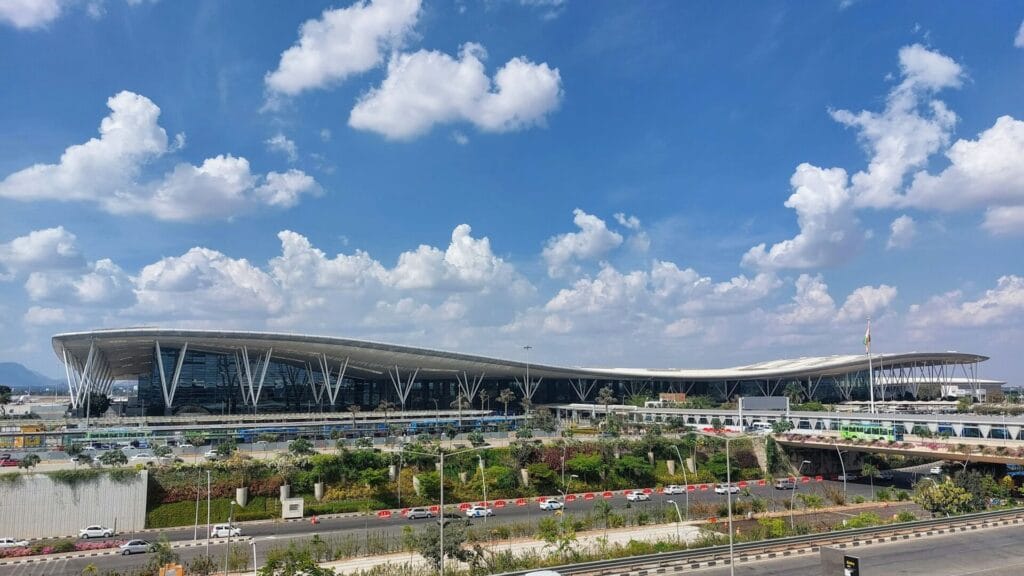
Indian airports — especially Mumbai (BOM), Delhi (DEL), Bangalore (BLR), and Chennai (MAA) — handle high volumes. Immigration queues can be long. Having your documents immediately accessible saves time and stress.
Safety Tips for Handling Passport and Travel Documents

Make backups before you leave:
- Scan your passport bio-data page, visa approval, travel insurance, and credit cards
- Store one copy in cloud storage (Google Drive, Dropbox) — accessible from any device
- Email a copy to yourself
- Leave a physical copy with a trusted person at home
What to do if your passport is lost in India:
- File a police report (FIR) immediately at the nearest police station
- Contact your country’s embassy or consulate in India
- Contact Bureau of Immigration India if you need to resolve visa complications
Keep your original passport secure:
- Use a hotel safe for storage when not traveling
- Carry a photocopy for day-to-day situations where ID is needed
- Never leave your passport in checked luggage
Best Strategy for Preparing India Tourist Visa Documents
Follow this sequence. Don’t skip steps
STEP 1 — Check Passport
- Valid 6+ months beyond return date
- Minimum 2 blank pages
- Passport in good condition
STEP 2 — Prepare Photos
- Take new white-background photo
- Use India visa photo tool
- JPEG format, correct size
STEP 3 — Scan Documents
- Bio-data page scanned flat, clear
- Compress <300KB, verify readability
STEP 4 — Prepare Hotel & Return Ticket
- Book at least first night
- Book return/onward ticket
- Keep confirmations
STEP 5 — Complete & Submit Application
- Use indianvisaonline.gov.in only
- Match details exactly with passport
- Save reference number
STEP 6 — Save eVisa Confirmation
- Download PDF, save offline
- Print 2 copies
- Store digital backup in cloud
STEP 7 — Airport-Ready Copies
- Carry passport, eVisa printout
- Carry return ticket, hotel confirmation
- Keep emergency contacts and prescriptions handy
Do this / Avoid this:
Do This | Avoid This |
Check passport expiry 6 months past return date | Checking only that passport doesn’t expire before you travel |
Take a new white-background photo | Recycling an old ID or social media photo |
Save application reference number immediately | Closing the browser before saving the reference |
Compress files before uploading | Uploading full-size scans that exceed portal limits |
Print 2 copies of eVisa confirmation | Relying only on having it in your email |
Apply 4–7 days before departure | Applying too early (visa may expire) or last-minute |
Verify entry point supports your eVisa | Assuming all borders accept eVisa |
Store backup scans in cloud | Keeping only one copy on your phone |
Final India Visa Preparation Checklist
Before applying:
- Passport valid 6+ months beyond return date
- At least 2 blank passport pages
- Passport in good condition
- New photo taken against white background, JPEG format
- Passport bio-data page scanned clearly, file compressed
- Return/onward ticket booked
- Accommodation for first night confirmed
- Bank statement or financial proof ready
During application:
- Using indianvisaonline.gov.in (official portal only)
- Reference number saved before proceeding
- Name and details match passport exactly
- Photo and scan uploaded successfully
- Visa fee paid with correct card
After approval:
- eVisa confirmation downloaded as PDF
- Digital backup stored in cloud
- Printed copies made (2 copies)
- Copy emailed to yourself and trusted contact at home
- All travel documents organized in carry-on
Conclusion
Getting your India tourist visa documents right doesn’t have to be stressful. The difference between a smooth application and delays usually comes down to preparation.
Follow the checklist: check passport validity and blank pages, prepare a correct photo, scan and compress documents properly, book at least your first night’s accommodation, and save all confirmations.
Submit carefully and keep copies ready – both digital and printed. Travelers who follow this system aren’t lucky. They simply know the exact India tourist visa documents required and avoid small mistakes that cause big problems.
Check the official Indian Visa Online portal for any updates specific to your nationality. Verify requirements through the Bureau of Immigration India if you’re unsure.
Requirements vary by nationality and are subject to change. Always verify current requirements through official Indian government portals before applying.
FAQs about India Tourist Visa Documents
What documents do I need for an India tourist visa?
You need a valid passport, recent passport photo, scanned bio-data page, return ticket, hotel proof, and sometimes bank statements.
Can I apply for an India eVisa online?
Yes, the eVisa is fully online through indianvisaonline.gov.in and is linked electronically to your passport.
How long is an India eVisa valid for travelers?
Typically, eVisas are valid for 30 or 90 days depending on your nationality and entry type.
Do I need a confirmed hotel booking for an India visa?
Only one night or a flexible booking is enough; immigration may ask for proof on arrival.
Is a return or onward ticket mandatory for India eVisa?
Technically not, but airlines and immigration often require proof of departure.
What are the India visa photo requirements?
JPEG format, 350×350 pixels minimum, white background, face centered, no glasses or shadows.
Can children travel on a parent’s passport for India?
Some countries allow it, but children with their own passports follow standard adult rules.
What are the most common India visa mistakes travelers make?
Using an expired passport, wrong photo background, mismatched name spelling, wrong visa type, or unclear document uploads.
Do I need printed copies of my India eVisa?
Yes, it’s recommended to carry a printed copy and a digital backup for immigration checks.
What’s the difference between eVisa and regular tourist visa for India?
eVisa is online, fast, and for short stays at specific ports; regular visa requires embassy submission and can be longer stay.
Images: Pixabay
