


If you’re wondering what to do after landing in India or how the India airport arrival process works, you’re not alone.
For first-time travelers, the arrival process can feel confusing – long queues, multiple steps, and unfamiliar systems. The good news? It’s actually simple once you know the flow.
This guide walks you through the entire arrival process – from immigration at the airport to reaching your hotel – so you can move through each step with confidence.
If you’re planning your first trip overall, read our complete First Time Travel Guide to India covering visas, money, transport, safety, apps, and essential travel planning tips.
From the moment you land to the moment you check into your hotel, everything is explained step by step.
After landing in India, you need to go through immigration, collect your baggage, clear customs, and arrange transport to your hotel. The India airport arrival process usually takes 1 to 2 hours depending on the airport and crowd.
India Airport Arrival Process (Step-by-Step Guide for First-Time Travelers)
After landing in India, follow this order:
- Stay seated until the seatbelt sign turns off
- Follow signs to Immigration
- Move into the correct queue for foreign passport holders.
- Show your passport and e-Visa
- Collect your checked baggage
- Go through Customs
- Get a SIM card and some cash
- Book a prepaid taxi or app-based cab
The full process usually takes 45 minutes to 2 hours depending on the airport and crowd.
Before You Land – What to Have Ready
The 30 minutes before landing are useful – don’t sleep through them. Pull out your passport and keep your printed e-Visa ready, either on paper or on your phone. If the airline gives you a disembarkation card, fill it out now.
Before flying, make sure you’ve prepared all required India tourist visa documents including passport scans, visa printouts, hotel bookings, and financial proof.
Some airports still require it. Also check your phone settings. Keep mobile data off to avoid roaming charges, and turn on Wi-Fi after landing instead. Have your hotel address ready – immigration officers may ask for it.
Getting Off the Plane
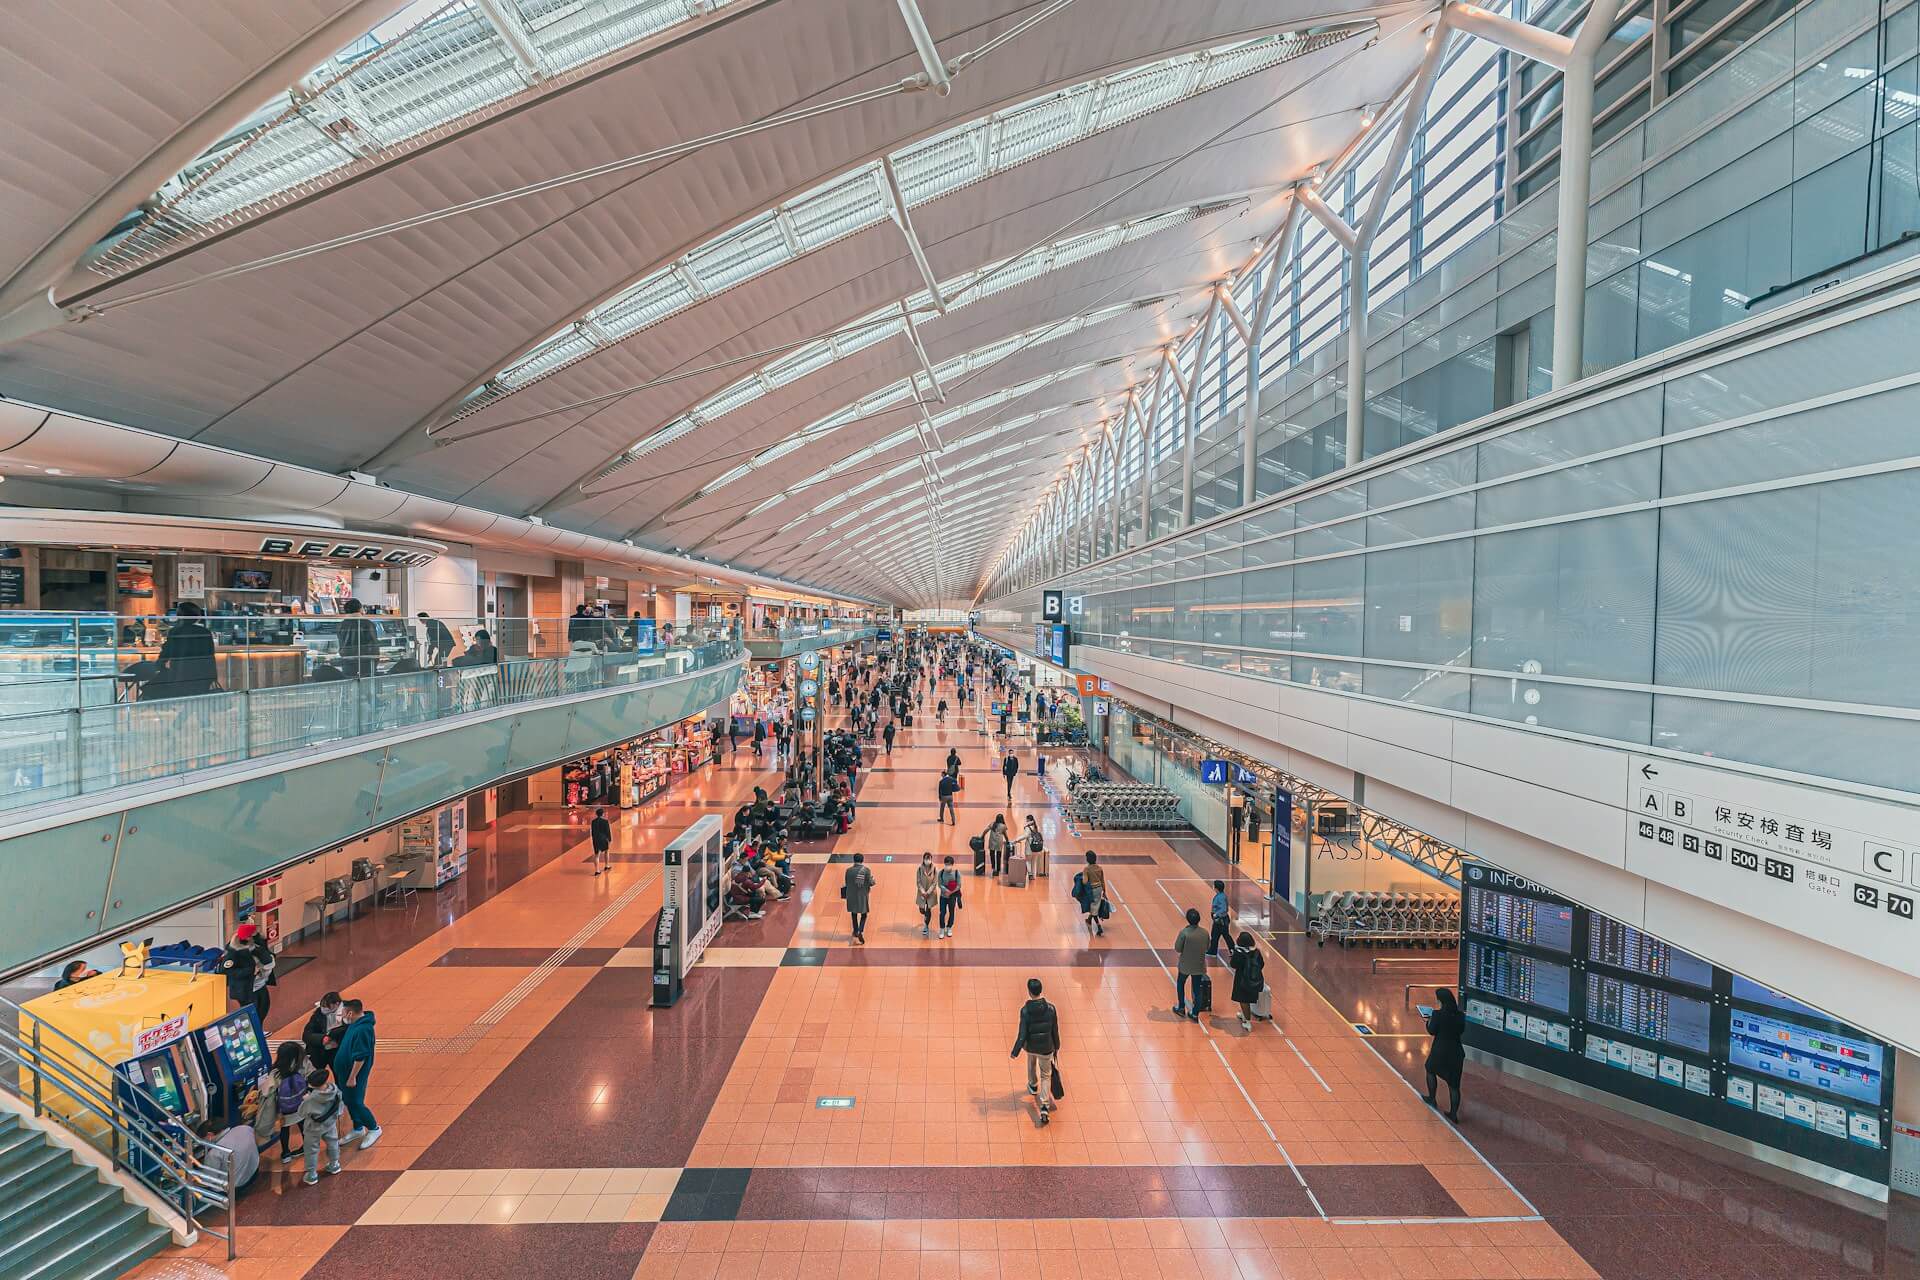
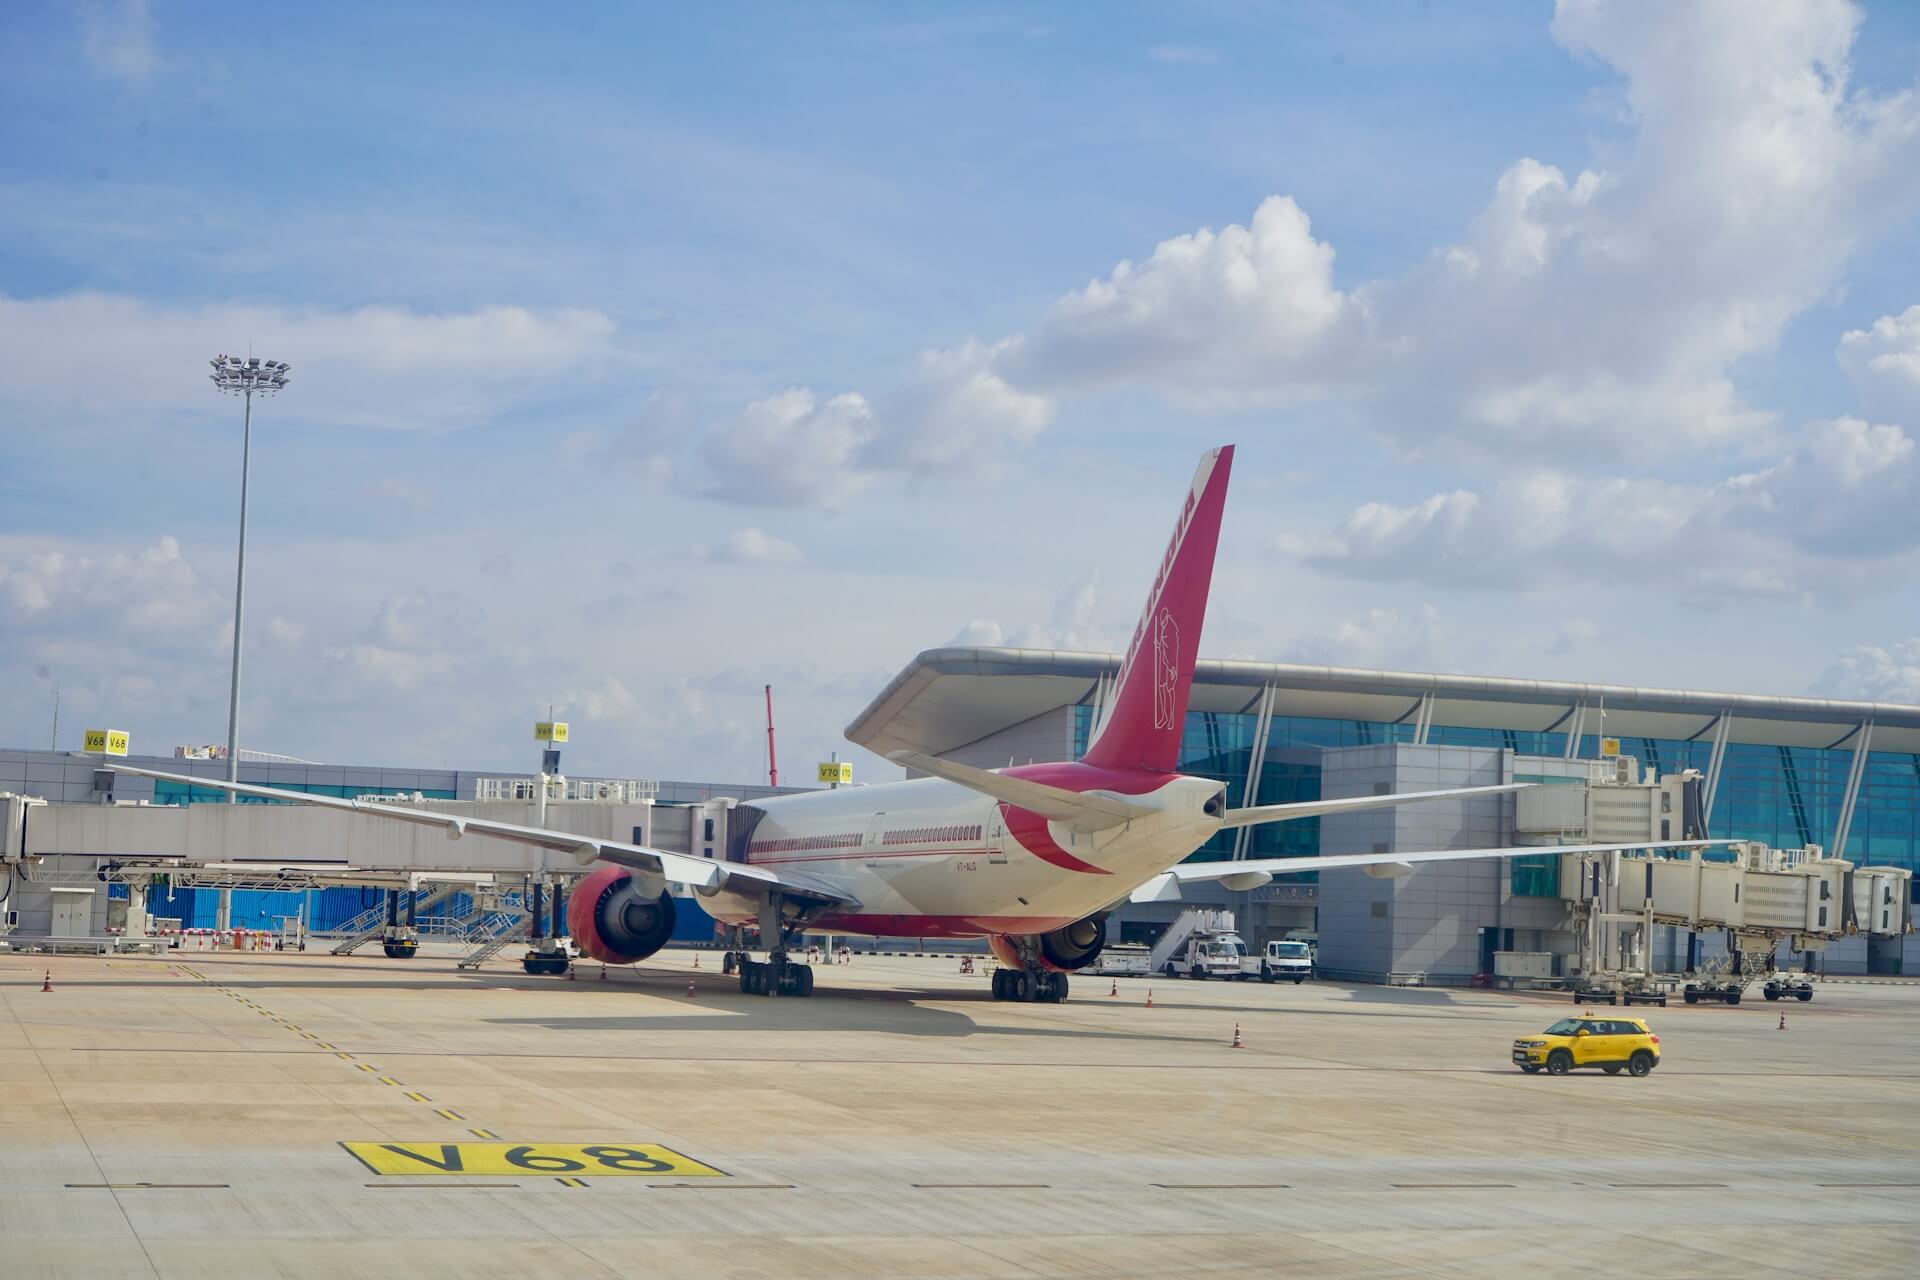
Once the aircraft doors open, follow the flow of passengers toward the terminal.
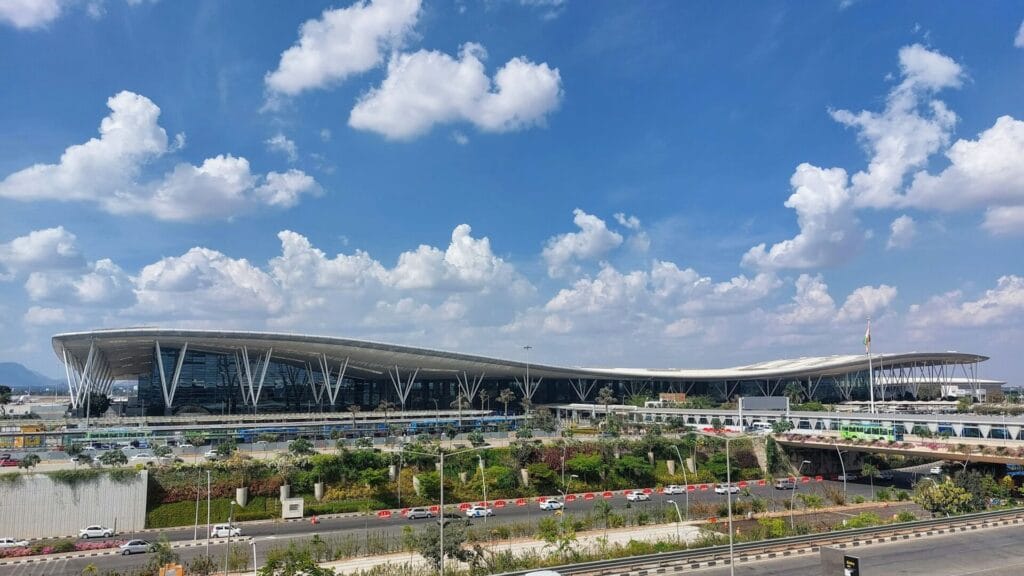
Indian airports – especially Delhi’s Indira Gandhi International, Mumbai’s Chhatrapati Shivaji Maharaj, and Bengaluru’s Kempegowda International – are large, modern, and well-signposted in English.
Follow signs that say “Arrivals,” “Immigration,” or “Passport Control.” Keep walking – you’ll pass through air-bridges or terminal corridors before reaching the immigration hall.
This walk can take 5 to 15 minutes in larger airports. If you need the restroom, use one now before joining the immigration queue. Those queues can be long.
India Immigration Process (Step-by-Step)
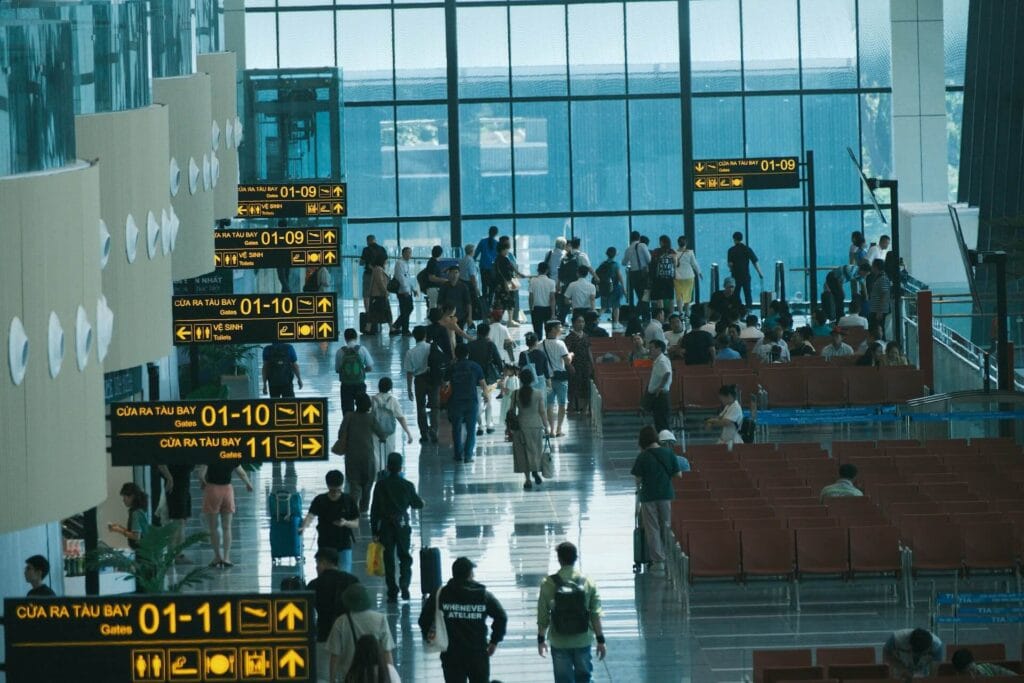
This is where most first-time visitors feel unsure during the India immigration process – but it’s very routine.
India Immigration — What to Expect
When you reach the immigration hall, you’ll see two types of counters:
- Indian Passport holders — separate queue, not for you
- Foreign Nationals / e-Visa holders — this is your queue
At busy airports like Indira Gandhi International in Delhi, these queues can take 20 to 40 minutes during peak arrival hours — typically early morning and late evening when multiple international flights land together.
Join the Foreign Nationals line. During off-peak hours, you might walk through in 10 minutes.
What to hand the officer
- Your passport (open to the bio-data page)
- Your printed or digital e-Visa approval
- Disembarkation card if you filled one out
What the officer will do
- Check your documents
- Ask you a few basic questions (see below)
- Take your fingerprints (both index fingers, then all fingers)
- Take a photograph using the camera at the counter
- Stamp your passport with the entry date and permitted stay duration
Common questions immigration officers ask
- What is the purpose of your visit?
- How long are you staying?
- Where will you be staying?
- Do you have a return ticket?
Keep answers short and direct. “Tourism, 15 days, staying at [hotel name] in Delhi, yes I have a return ticket” covers everything. Don’t over-explain.
Check the stamp in your passport before you walk away. Confirm the date and the number of permitted days are correct. If something looks wrong, raise it at the counter immediately — not later.
Baggage Claim
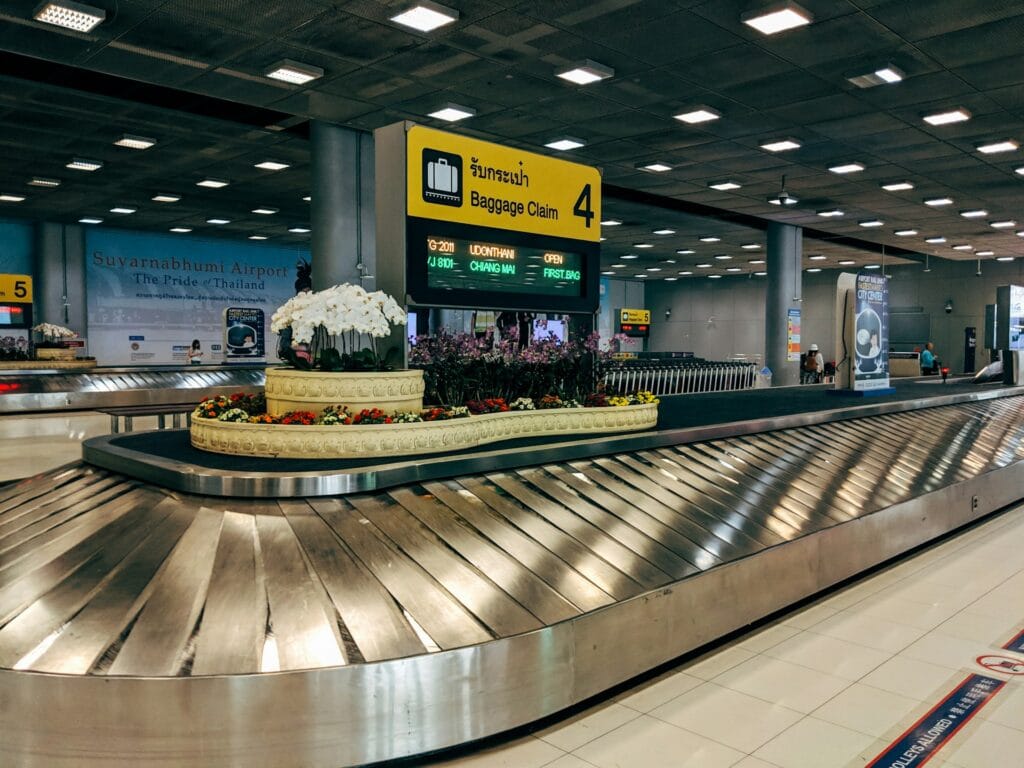
After completing the India airport arrival process at immigration, follow signs to Baggage Claim or Carousel. Look for screens showing your flight number – they’ll display which carousel belt your bags are on.
Bags usually start arriving within 15 to 25 minutes of you reaching the belt. If your flight had a long immigration queue, your bags may already be waiting.
If your bag doesn’t arrive: Go to the airline’s baggage desk in the arrivals hall (every airline has one). Show your baggage receipt – the sticky tag attached to your boarding pass when you checked in.
File a report immediately. Delayed bags are usually delivered to your hotel within 24 to 48 hours. Keep your baggage receipt safe until you’re home. You’ll need it if anything goes wrong.
Customs — What You Need to Know
The India customs process for tourists is simple if you’re carrying personal items only. After collecting your bags, you’ll walk through the Customs area. There are two channels:
Green Channel
Nothing to declare. Use this if you’re carrying standard personal items, clothing, electronics for personal use, and no large amounts of cash or undeclared goods.
Red Channel
Items to declare. Use this if you’re carrying more than USD 5,000 (or equivalent) in cash, commercial goods, or items exceeding duty-free limits.
For most first-time tourists with personal luggage, the Green Channel is the correct route.
Duty-free allowances for travelers entering India
- Alcohol: 2 litres
- Cigarettes: 100 sticks or 25 cigars
- Personal electronics (laptop, camera, phone): generally permitted for personal use
Customs officers may randomly stop travelers in the Green Channel for a quick check. Stay calm, be cooperative, and answer honestly. It’s routine and takes less than two minutes in most cases.
Note: Customs rules and duty-free limits are subject to change. Check the official guidelines from the Central Board of Indirect Taxes and Customs (CBIC) before you travel.
For first-time travelers, understanding the India airport arrival process in advance makes the entire experience smooth and stress-free.
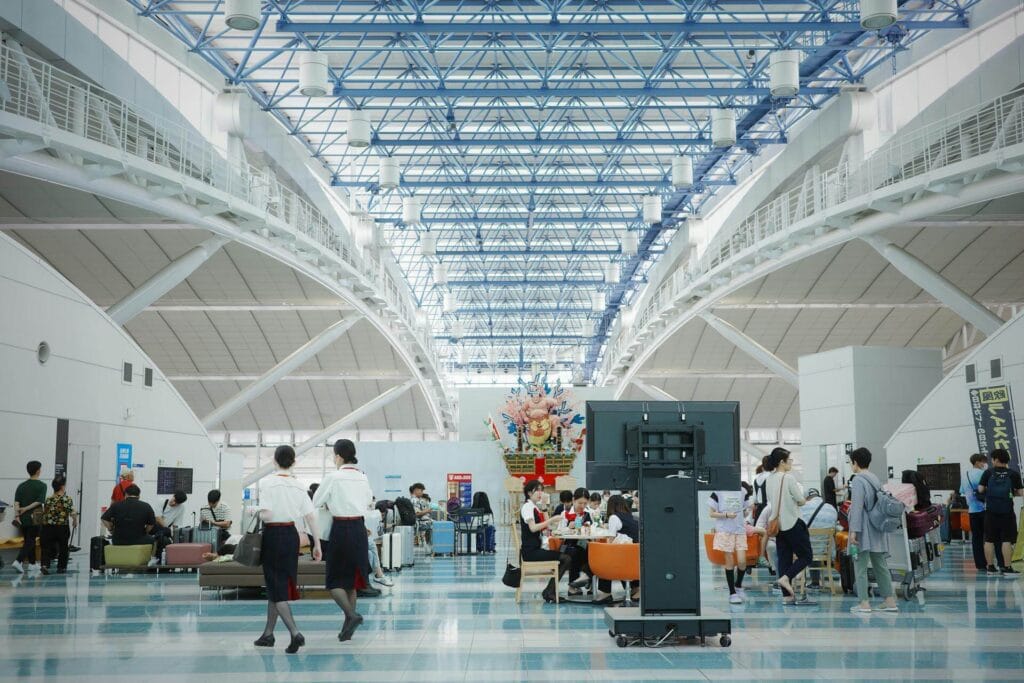
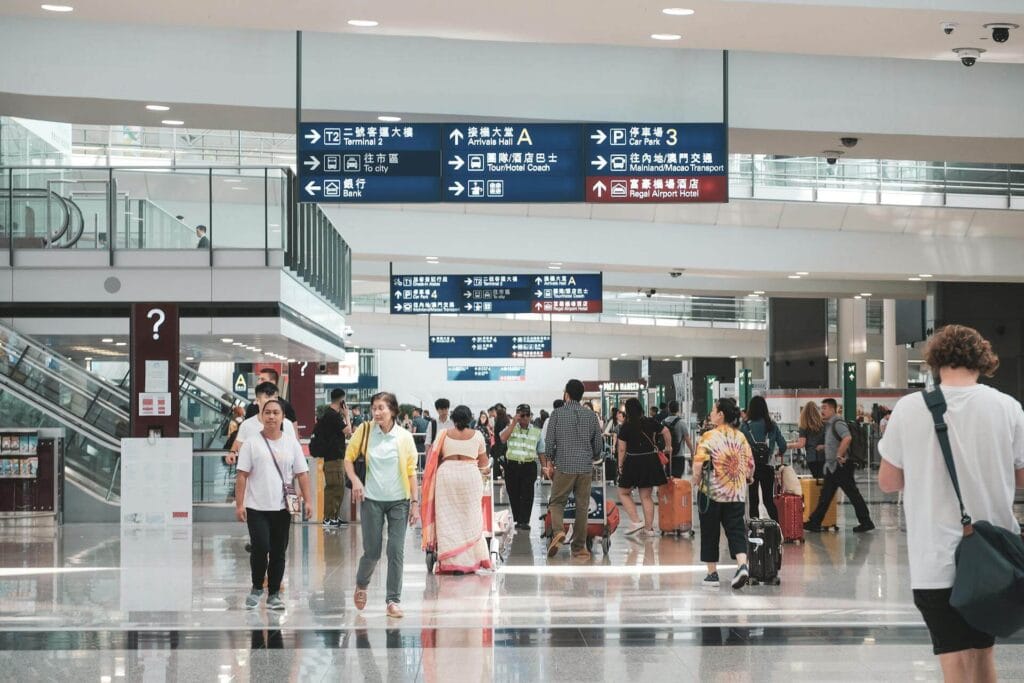
Getting a SIM Card at the Airport

Once through Customs, you’ll enter the public arrivals hall — the area where people wait to receive passengers. Before you exit into this area, or just after entering it, look for telecom counters.
India’s major carriers — Airtel, Jio, and Vi (Vodafone Idea) — have kiosks at most major international airports. Getting a SIM here is one of the smartest things you can do right after arrival.
What you need to buy a SIM
- Your passport (original, not a photocopy)
- One passport-sized photo (some kiosks can print one; carry a spare just in case)
- Your visa details
What to expect: Getting a SIM at the airport can take 15 to 30 minutes due to document verification. In busy periods, it can stretch to 45 minutes.
If the queue is very long and you’re in a rush to reach your hotel, you can buy a SIM the next morning at any telecom store in the city — they’re everywhere.
Recommended plans for tourists
A prepaid tourist SIM with 1.5 GB to 2 GB of daily data and unlimited calls typically costs ₹300 to ₹600 for 28 to 56 days. Ask for a tourist data pack specifically.
Once your SIM is active (can take up to an hour for full activation), you’ll have data for navigation, booking cabs, and calling your hotel.
Currency and Money at the Airport
You’ll need Indian Rupees (INR) for many things — small transport costs, tips, food, and situations where cards aren’t accepted.
Quick reality check: Airport exchange counters and ATMs typically offer worse exchange rates than city banks or ATMs.
If you need cash immediately for your taxi or immediate expenses, withdraw or exchange a small amount – ₹2,000 to ₹3,000 at the airport. Change or withdraw larger amounts once you’re settled in the city.
Airport ATMs are available in the arrivals area. Use ATMs inside the airport terminal rather than outside – they’re safer and more reliable. Make sure international withdrawals are enabled on your home bank card before you travel.
Avoid money changers who approach you in the arrivals hall offering “better rates.” Always use official bank kiosks or ATMs.
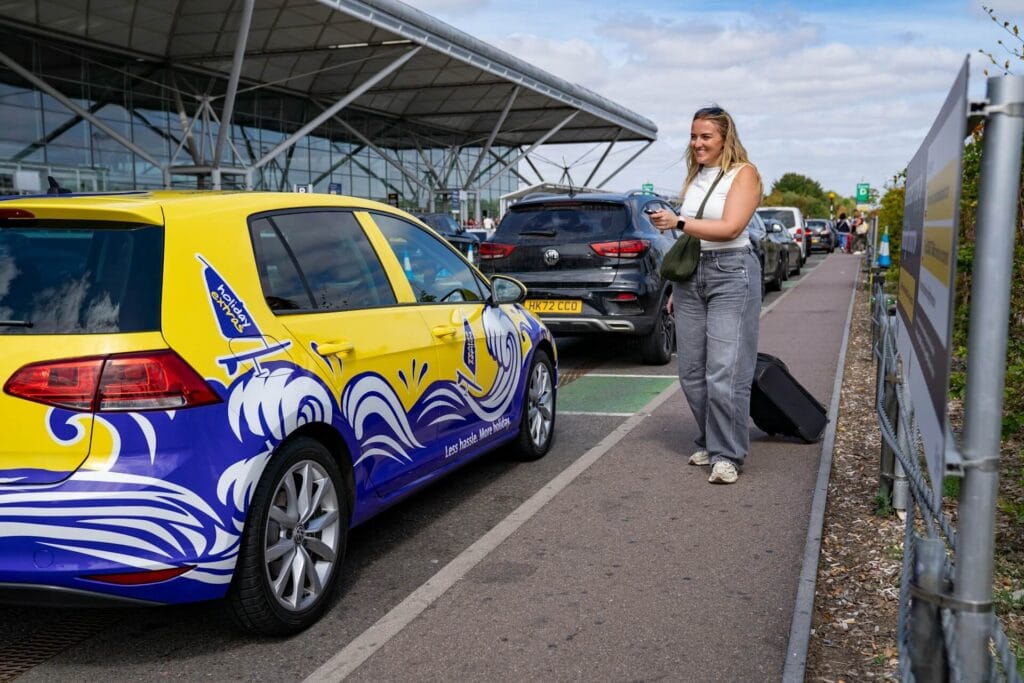
How to Get from the Airport to Your Hotel in India
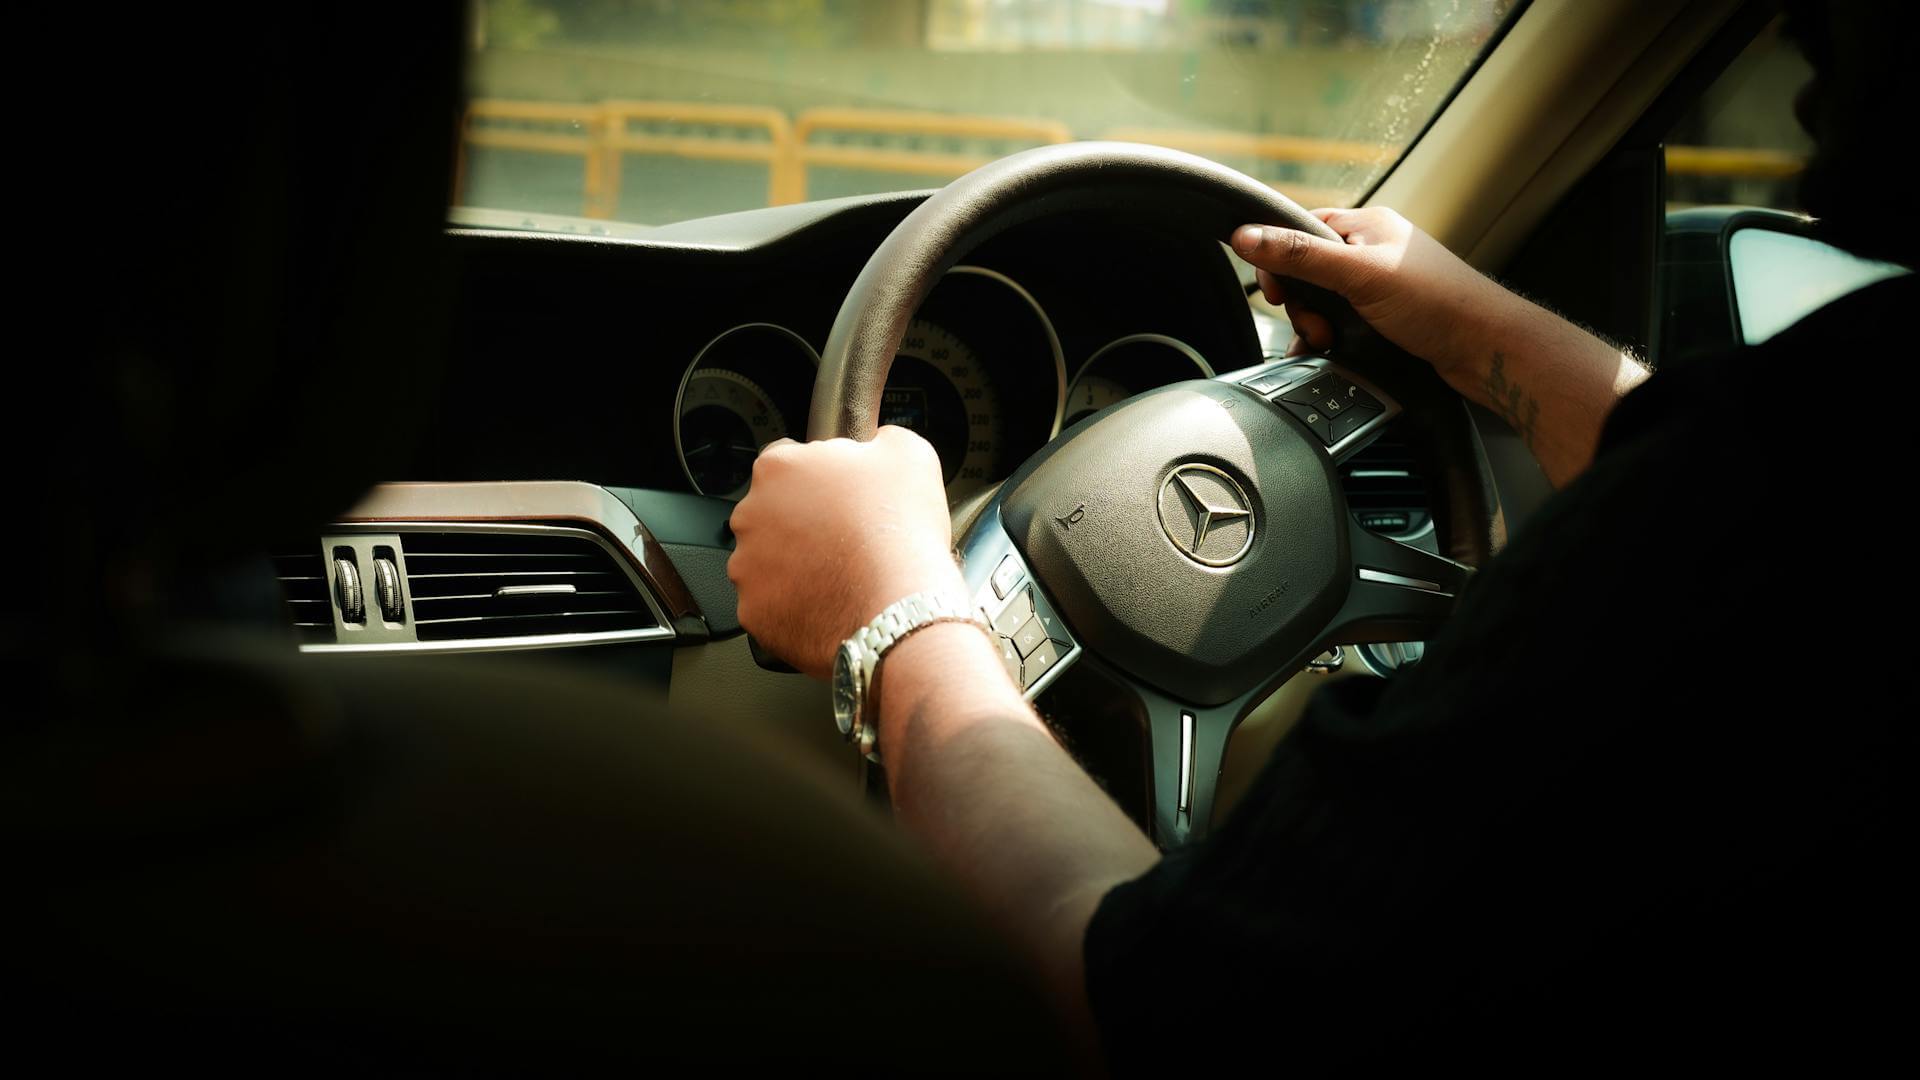
The safest way to get from the airport to your hotel in India is by using a prepaid taxi booked at the official prepaid taxi counter inside the arrivals terminal. Fix the price before you get in the car.
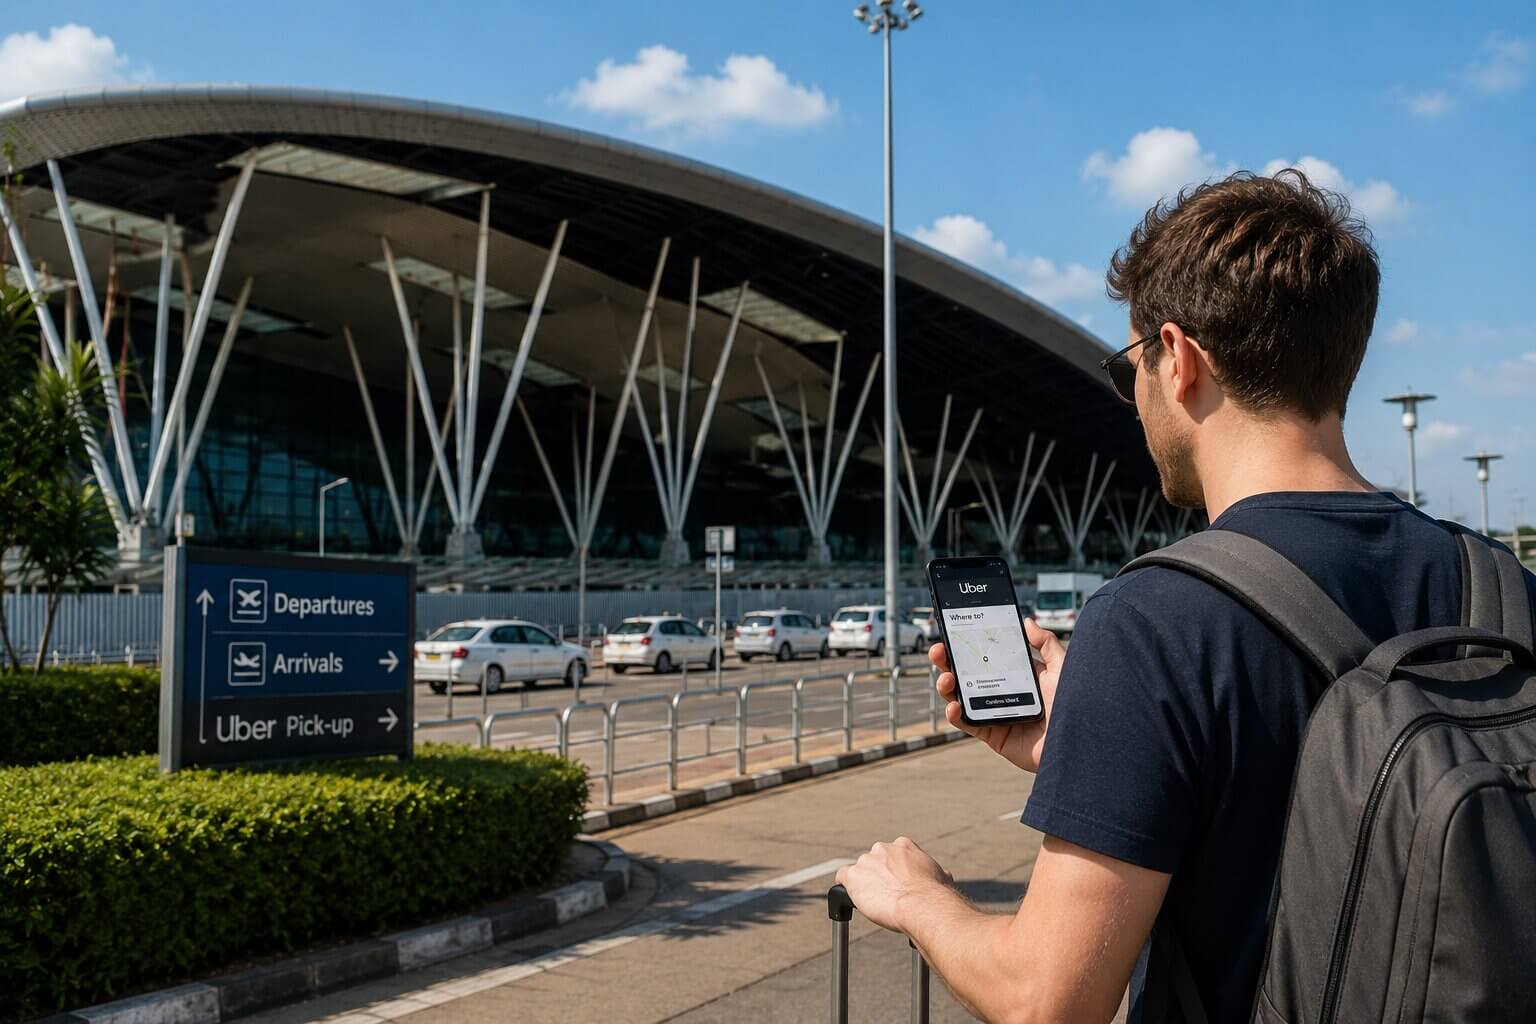
Alternatively, use app-based cabs like Ola or Uber – prices are metered, transparent, and you don’t need to negotiate. Avoid random drivers who approach you outside the terminal.
Exiting the Airport – The Critical Moment
This is where many new travelers get confused – and where you need to stay alert. The moment you exit the arrivals hall with your luggage, you will be approached by men offering taxis, hotels, tours, and “special deals.”
Ignore all of them. Walk past confidently and head to the official taxi counter or your app-based pickup zone.
The arrivals area at Indian airports has a clear division:
- Inside the terminal — official, safe, regulated
- Outside the terminal — unregulated individuals may approach you
Stay inside until you’ve arranged transport through an official channel.
Transport Options from Airport to Hotel
Prepaid Taxi Counter (Most Recommended for First-Timers)
Every major Indian airport has a government-authorized prepaid taxi counter inside the arrivals hall. Look for signs that say “Prepaid Taxi” – usually operated by the state government or airport authority.
Here’s how it works: you tell the counter staff your destination, they give you a fixed price slip, you pay in advance, they give you a receipt with a taxi number, and you go to the designated taxi stand where your cab is waiting.
No negotiation. No hidden charges. No surprises. This is the simplest option if you want a hassle-free ride.
Ola and Uber (Best Value, Needs Data)
Once your SIM is active and you have data, Ola and Uber work extremely well at Indian airports. Prices are transparent, tracked by GPS, and drivers are rated by other users.
Most major airports have a dedicated app-cab pickup zone – look for signs or ask airport staff. Do not let Ola or Uber drivers redirect you to a different spot. Always go to the official pickup zone shown on the app.
Metro Rail (Cheapest Option — Available at Some Airports)
Delhi and Kolkata airports have direct metro connections to the city centre.
If your hotel is near a metro station and you’re comfortable with public transport, this is the cheapest and often fastest option (₹50 to ₹80 for the city centre).
Mumbai’s airport metro became partially operational in 2024 – check current status before your trip. For first-time visitors with heavy luggage, metro may not be the most comfortable choice, but it’s perfectly safe.
Avoid Unofficial Taxis
Do not accept rides from drivers who approach you in the arrivals area without an official booking. Prices are typically double or triple the going rate, and there are genuine safety concerns. Stick to prepaid counters or app-based services.
Arriving at Your Hotel

By now, you’re in the cab and on your way to the hotel. A few things to keep in mind for the final leg.
Share your live location with someone you trust — a family member or friend back home. Most messaging apps (WhatsApp, Google Maps) allow this easily.
Confirm the hotel address with your driver before you leave the airport, not halfway through the journey. When you arrive, the hotel will ask for your passport for check-in.
This is standard practice across India – hotels are required to record foreign guest details. They’ll return your passport within a few minutes.
Ask the front desk for the hotel’s Wi-Fi password and their local contact number. Both are useful within the first hour. If you’re arriving in India for the first time, this step-by-step guide will make the process much easier.
Realistic Timeline: Landing to Hotel Room
Stage | Time Required |
Walk from plane to immigration | 10–15 mins |
Immigration queue & process | 20–45 mins |
Baggage claim | 15–25 mins |
Customs clearance | 5–10 mins |
SIM card setup (optional) | 20–30 mins |
Currency exchange / ATM | 10–15 mins |
Finding transport | 10–20 mins |
Drive to hotel (city centre) | 30–60 mins |
Total: Landing to hotel room | 2 to 3.5 hours (airport to hotel) |
Here’s what a realistic timeline looks like for a smooth arrival:
Plan accordingly. Avoid booking any meetings or activities within 4 hours of arrival, as delays at immigration and baggage claim are common.
Common Mistakes First-Time Travelers Make at Indian Airports
Accepting a taxi from someone who approaches you in arrivals. This is the single most common mistake. Always use the prepaid counter or an app.
Not printing the e-Visa. Digital copies are usually accepted but airlines and immigration officers can and do ask for a printout. Carry one.
Exchanging all currency at the airport. Rates are poor. Change just enough for immediate needs.
Forgetting to note passport details for hotel check-in. Hotels need your passport number and visa details. Have them accessible.
Trusting strangers who offer to “help” with your bags or guide you. These situations often end with a demand for money. Politely decline all unsolicited help.
Pro Tips From Experienced India Travelers

Arrive during daylight hours if possible. Navigating a new city at night adds unnecessary stress on your first day. If you can book a morning or early afternoon arrival, do it.
Screenshot your hotel address in the local language. Many drivers read English but having the address in Hindi or the regional language avoids all confusion. Google Translate’s camera function can help, or ask your hotel to send it in advance.
Keep ₹500 to ₹1,000 in small notes accessible. Small change is useful for tips, small purchases, and situations where drivers don’t have change.
Charge your devices before landing. Power banks and charging cables are allowed in carry-on. A fully charged phone means you can use maps, contact your hotel, and book transport the moment you land.
Don’t panic if the queue is long. Immigration queues at Delhi and Mumbai during peak hours are genuinely long — 30 to 40 minutes is normal. Everyone gets through. Stay patient, stay in line, keep your documents ready.
Yes — major Indian airports are modern, well-signposted in English, and relatively easy to navigate.
Delhi, Mumbai, Bengaluru, and Hyderabad airports in particular are clean, organized, and familiar if you’ve traveled internationally before.
The main challenge is outside the terminal, not inside. Follow the steps in this guide and you’ll navigate the process without any confusion.
Quick Arrival Checklist
Before leaving the airport, make sure you have:
- Passport with entry stamp checked
- Local SIM card (or plan to get one)
- Some Indian Rupees (₹2,000–₹3,000 is enough to start)
- Safe transport booked (prepaid taxi or app cab)
- Hotel address saved on your phone
Save or screenshot this checklist so you don’t forget anything.
Conclusion
Now you know exactly what to do after landing in India — from clearing immigration to reaching your hotel without confusion. The process may feel overwhelming at first, but it follows a clear system.
Once you understand the steps, everything becomes much easier. Read this once before your trip, and you’ll arrive prepared, confident, and ready to start your journey without stress.
FAQs about Airport to Hotel Guide for First-Time Travelers
What should I do immediately after landing in India?
After landing in India, follow signs to immigration, show your passport and e-Visa, collect your baggage, and pass through customs. Once you exit, get a SIM card or some cash if needed, then book a prepaid taxi or app-based cab to your hotel.
How long does it take to get out of the airport in India?
The India airport arrival process usually takes around 45 minutes to 2 hours to leave an Indian airport after landing. The timing depends on immigration queues, baggage wait time, and how busy the airport is.
Is the immigration process in India difficult for tourists?
No, the India immigration process for tourists is simple for tourists. You just need your passport, e-Visa, and basic travel details. Officers usually ask a few short questions, and the process is quick.
Can I buy a SIM card at the airport in India?
Yes, you can buy a SIM card after landing in India at most international airports. You’ll need your passport and visa details, and activation usually takes between 15 minutes to an hour.
Should I exchange money at the airport in India?
You can exchange money at the airport in India, but rates are usually lower. It’s better to withdraw or exchange a small amount (₹2,000–₹3,000) for immediate use and get better rates in the city later.
What is the safest way to get from the airport to my hotel in India?
The safest way to travel after landing in India is by using a prepaid taxi from the airport counter or booking a cab through apps like Ola or Uber. Avoid accepting rides from drivers who approach you directly.
Do Indian airports have Wi-Fi for international travelers?
Yes, most major Indian airports offer free Wi-Fi. After landing, you can connect using your phone number or a one-time password, although access steps may vary by airport.
Is it safe to travel from Indian airports at night?
Yes, it is generally safe to travel at night from Indian airports if you use official transport like prepaid taxis or app-based cabs. Avoid unverified drivers and stay within the airport pickup areas.
What documents do I need after landing in India?
After landing in India, you’ll need your passport, e-Visa approval, and sometimes a disembarkation card. It’s also helpful to have your hotel address and return ticket details ready.
What mistakes should I avoid after landing in India?
Common mistakes after landing in India include taking unofficial taxis, exchanging too much money at the airport, and accepting help from strangers. Stick to official services and keep your documents accessible.
Images: Unsplash
