

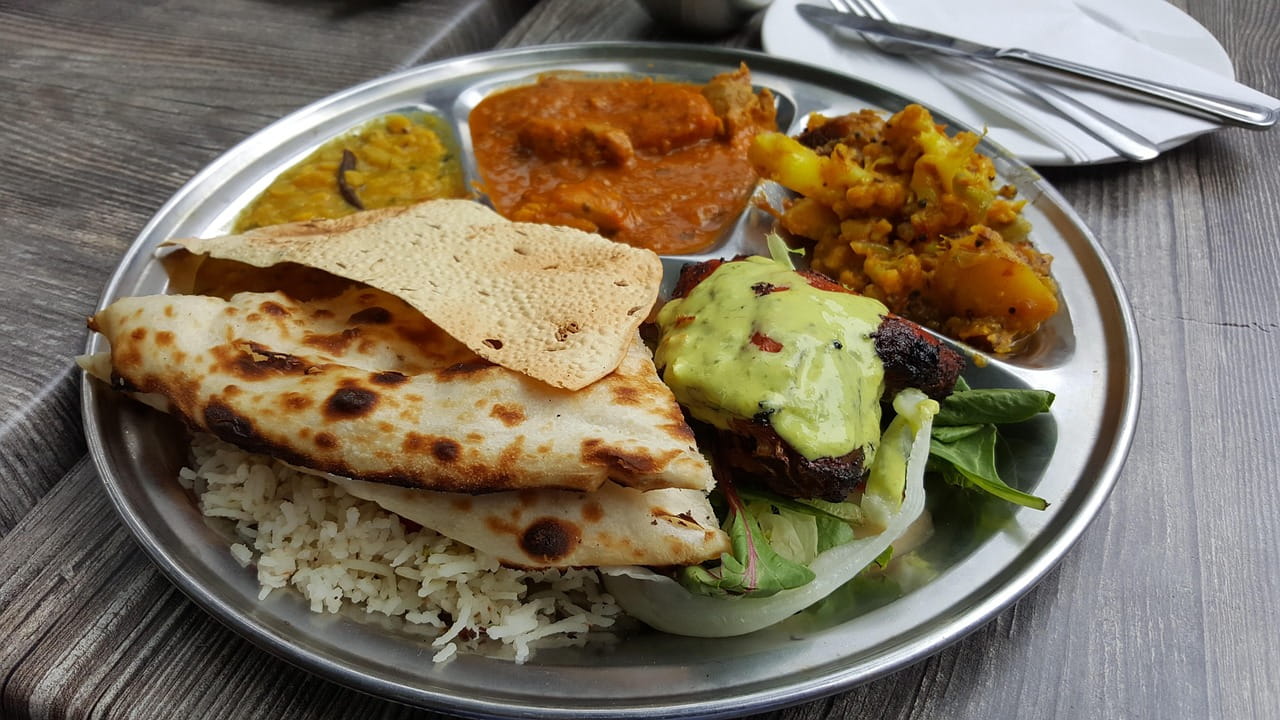


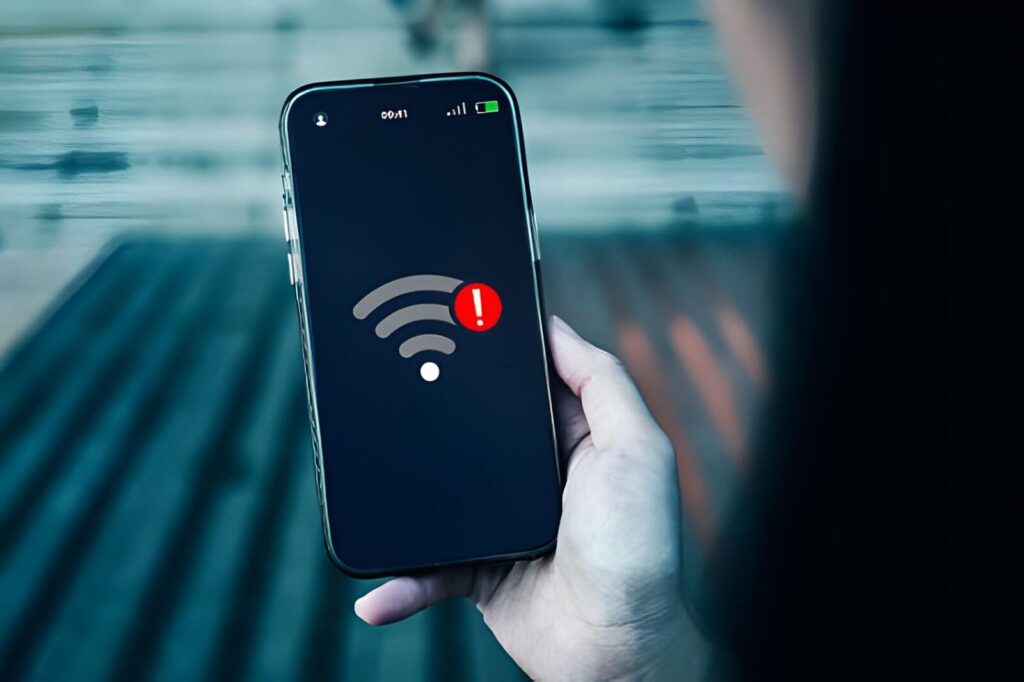
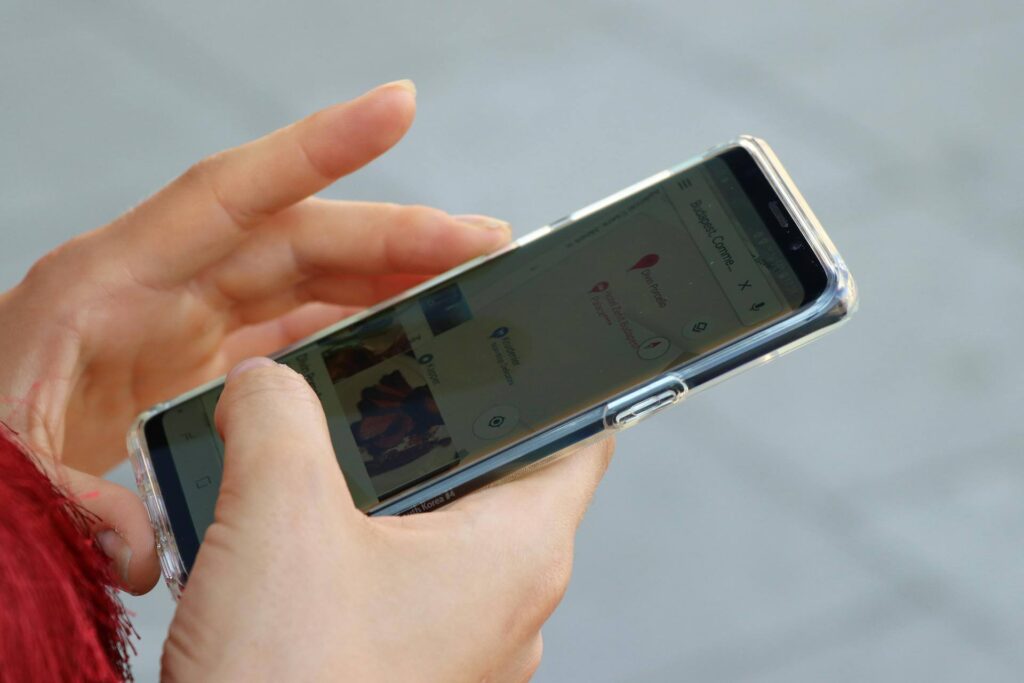
Landing in India without mobile data is one of the fastest ways to turn a smooth trip into a stressful one. You’ve just arrived after a long flight.
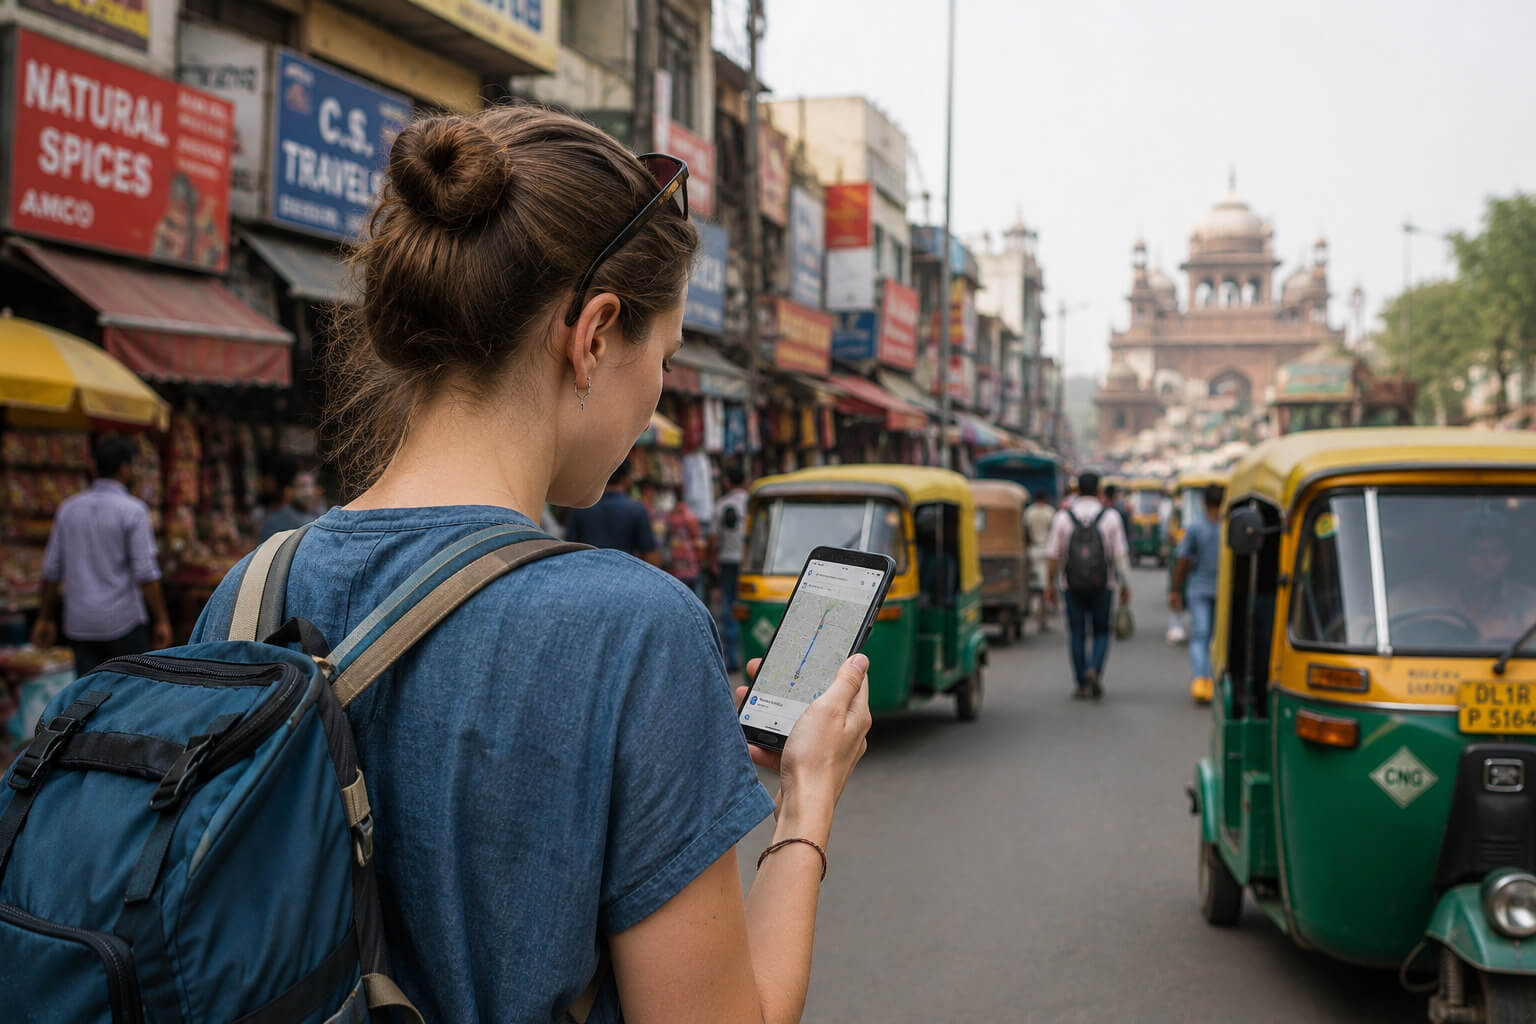
You need Google Maps, Uber, WhatsApp, or your hotel booking – but airport Wi-Fi is unreliable, roaming charges are expensive, and SIM card counters often have long queues.
If this is your first visit, our First Time Travel Guide to India covers everything from visas and airport arrival tips to safety advice and beginner-friendly itineraries.
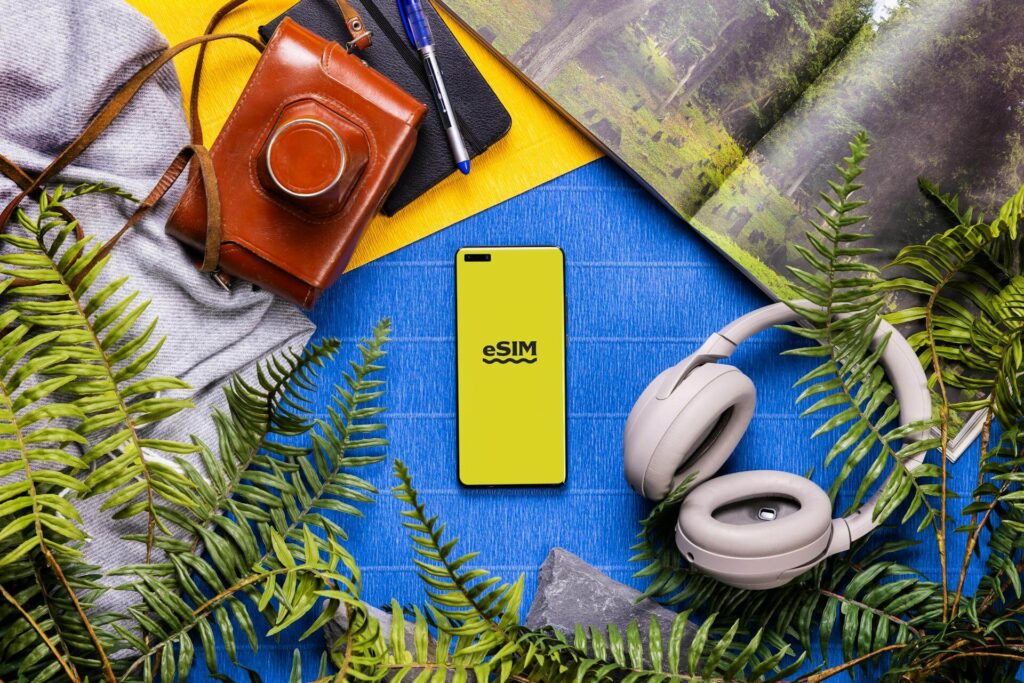
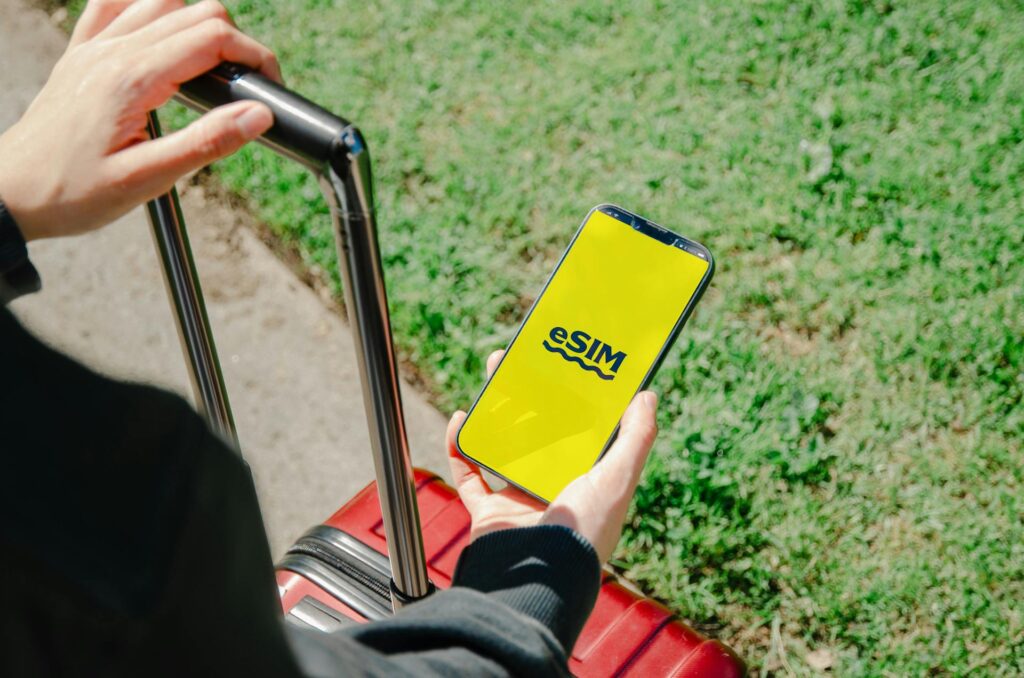
That’s why many travelers now use an India eSIM for tourists before departure. An eSIM lets you activate mobile data digitally without inserting a physical SIM card.
You can install it before your flight and connect to Indian networks like Airtel or Jio within minutes of landing.
In this guide, you’ll learn how India eSIMs work, the best plans for tourists, pricing, setup steps, coverage quality, common problems, and whether an eSIM is better than buying a local SIM card in India.
Table of Contents showWho This India eSIM Guide Is For !
This guide is designed for:
- first-time visitors to India,
- tourists arriving without local mobile service,
- business travelers,
- backpackers,
- digital nomads,
- and anyone comparing eSIM vs physical SIM options for India travel.
The recommendations in this guide are based on current India mobile network coverage, common traveler setup issues, and international eSIM provider availability as of 2026.
What Is an India eSIM and How Does It Work?
A physical SIM card is a small chip you insert into your phone. An eSIM (embedded SIM) does the same job — connecting you to a mobile network — but it’s built into your phone and activated digitally, with no physical card involved.
Instead of walking to a counter and swapping chips, you scan a QR code or enter an activation code, and your phone connects to a carrier’s network. The whole process takes a few minutes.
In India, eSIMs work by connecting to local networks — primarily Airtel or Jio — through international eSIM providers.
You buy a data plan from a provider like Airalo, Holafly, Nomad, or similar services. They sell you access to Indian network infrastructure at a marked-up but competitive price.
What eSIM gives you: Mobile data. You can use Google Maps, WhatsApp, ride apps, hotel lookups, and anything else that needs internet.
What eSIM typically doesn’t give you: An Indian phone number for calls and SMS. Most tourist eSIMs are data-only. This matters for one specific reason — more on that shortly.
Can Foreign Tourists Buy eSIM in India?
Yes – foreign tourists can use eSIM in India, but there are two different ways this works, and the difference matters.
Option 1 – International Travel eSIM (Easiest Option)
This is the simplest setup for most travelers. You buy an India eSIM online before departure from an international provider like Airalo, Nomad, Holafly, Saily, or Jetpac.
The eSIM connects to Indian mobile networks such as Airtel or Jio through roaming partnerships.
In most cases:
- no Aadhaar card is required,
- no Indian address proof is needed,
- and no paperwork is involved.
You simply:
- buy the plan online,
- scan the QR code,
- install the eSIM,
- activate it after landing in India.
For short-term travel, this is usually the fastest and least stressful option.
Option 2 – Local Indian Carrier eSIM
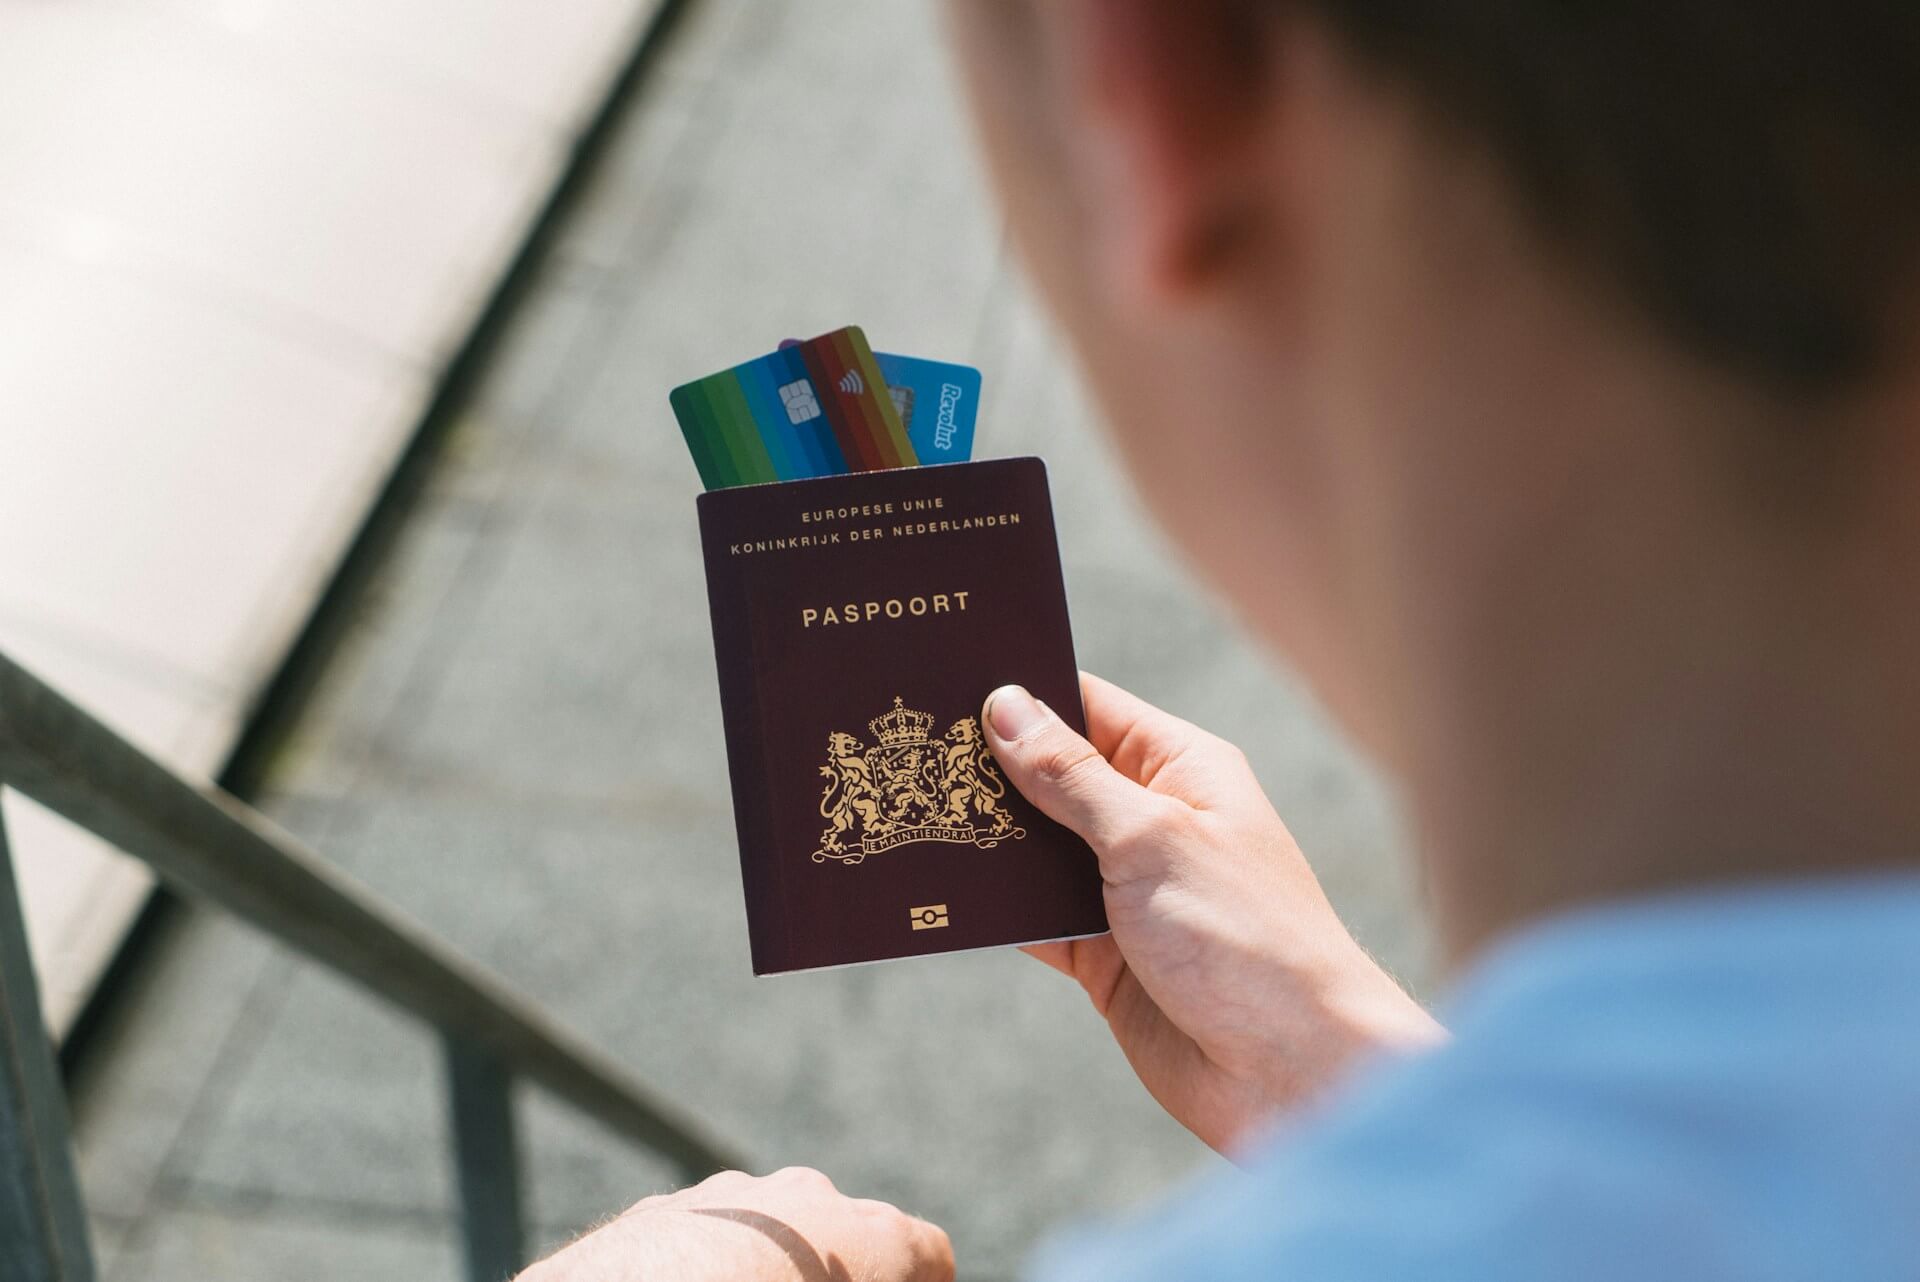
Foreign tourists can also get a local Indian SIM or eSIM directly from carriers like Airtel or Jio after arriving in India. However, this process is more complicated because Indian telecom regulations require identity verification.
You’ll usually need:
- your passport,
- visa copy,
- passport photo,
- and sometimes proof of local accommodation.
Activation may also take several hours depending on the carrier and verification process.
Which Option Is Better for Tourists?
For most international travelers visiting India for less than 2 weeks, an international travel eSIM is more convenient than getting a local SIM at the airport.
You avoid:
- long airport SIM queues,
- document verification,
- delayed activation,
- and physical SIM swapping.
However, local Indian SIMs are still cheaper for long trips and usually include:
- an Indian phone number,
- local calls,
- SMS support,
- and easier OTP verification for Indian apps.
As of 2026, most travelers visiting India for tourism use international data-only eSIMs for convenience and activate them before departure to ensure mobile internet works immediately after landing.
Is eSIM Available and Reliable in India?
Yes – and for most travelers, it works surprisingly well across India’s major cities and tourist routes.
eSIM technology works across India’s major urban centers – Delhi, Mumbai, Bangalore, Chennai, Kolkata, Hyderabad, Jaipur, and other large cities – without meaningful issues. Major tourist routes are also well covered.
Where coverage gets thinner:
- Remote hill stations (parts of Himachal Pradesh, Uttarakhand, Northeast India)
- Rural areas far from highway corridors
- Some border zones where civilian network access is restricted
India’s two dominant networks – Jio and Airtel – have expanded aggressively. Airtel in particular has strong 4G coverage in rural areas.
Most eSIM providers route through one or both of these, so coverage is generally reliable for travel in populated areas and major tourist circuits.
There’s one important drawback travelers should know before relying entirely on eSIM.
Deep rural India and some mountain regions still have patchy coverage regardless of whether you use eSIM or physical SIM. Download offline maps before entering these areas.
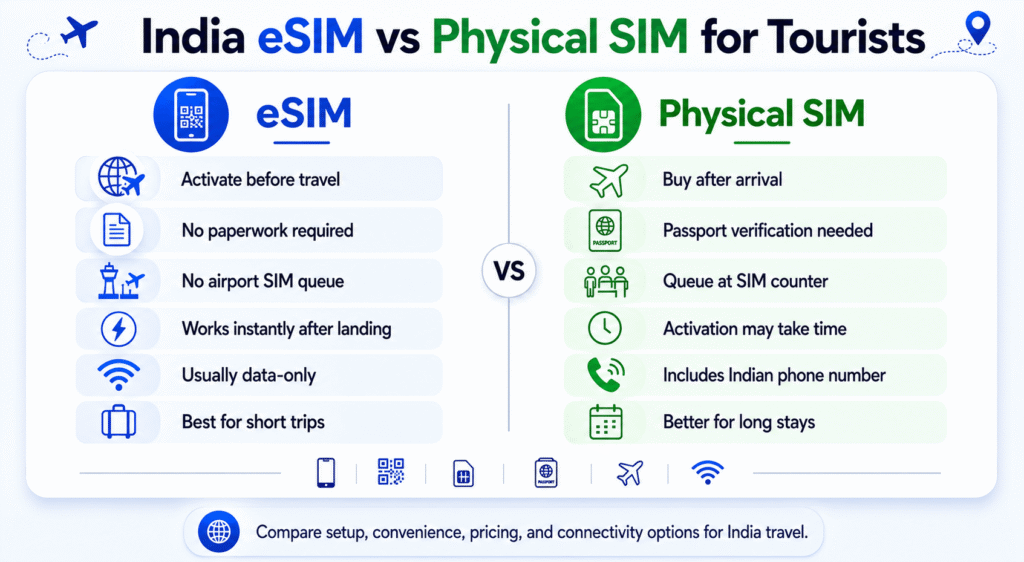
eSIM vs Physical SIM in India: Which Is Better?
Factor | eSIM | Physical SIM |
Where to buy | Online, before you travel | Airport counters, phone shops in India |
Setup timing | Install before departure, activate on arrival | Must be done in India |
Queue and paperwork | None | Queue + passport required |
Indian phone number | Usually not included | Yes, included |
Voice calls and SMS | Usually data-only | Yes |
OTP messages (banking, Uber) | Problematic without Indian number | Works with Indian number |
Price | Slightly higher than local SIM | Cheaper for longer trips |
Network | Airtel or Jio via provider | Direct carrier - same networks |
Data speed | 5G/ 4G/ LTE, same as local | 5G/ 4G/ LTE |
Convenience for short trips | High | Medium |
Convenience for long trips | Medium | High |
Dual SIM compatibility | Works alongside home SIM | Replaces physical SIM |
For most short-term travelers, the decision comes down to convenience versus cost. eSIM wins on convenience for trips under 2 weeks. Physical SIM wins on price and local number access for longer stays.
If you’re considering a local SIM instead, see our complete guide to getting a SIM card in India for tourists, including required documents, activation times, and current prepaid plans.
Best India eSIM Plans by Travel Type
The best India eSIM depends less on brand names and more on how you actually travel. A short city break has very different connectivity needs compared to a month-long backpacking trip or remote work setup.
Here’s a practical breakdown based on real travel scenarios.
Travel Type | Best Option | Why It Works |
Short vacation (3–7 days) | Small-data eSIM (3–5GB) | Easy setup, instant connectivity, enough for maps and messaging |
Business traveler | Premium eSIM with hotspot support | Reliable data for video calls, email, and tethering |
Backpacking trip (2–6 weeks) | Local Airtel or Jio SIM | Lower cost per GB and includes Indian number |
Digital nomad / remote worker | Large-data or unlimited eSIM | Better for video calls, cloud work, and heavy daily usage |
Luxury traveler | eSIM installed before departure | No airport SIM queues or paperwork after landing |
Multi-country Asia trip | Regional Asia eSIM | One plan works across multiple countries |
Rural or mountain travel | Jio-based plan | Generally stronger rural coverage across India |
City-focused itinerary | Airtel-based plan | Often faster in major urban areas |
Which Setup Is Best for Most Tourists?
For most travelers visiting India for under two weeks, a prepaid travel eSIM offers the best balance of:
- convenience,
- setup speed,
- and reliable mobile data.
You can land in India with maps, ride apps, hotel bookings, and WhatsApp already working – without searching for Wi-Fi or standing in SIM registration lines.
For longer stays, a local Indian SIM card usually becomes more economical, especially if you need:
- local calls,
- SMS support,
- OTP verification,
- or large amounts of mobile data.
The best strategy for many travelers is actually a hybrid setup:
- keep your home SIM active for calls and OTPs,
- and use an India eSIM for affordable mobile internet during the trip.
Best India eSIM Providers for Tourists

Rather than listing brands, here’s how to choose based on what your trip actually looks like.
Short trip (under 7 days), city-focused: You want a small data plan (3–5GB), quick setup, no hassle. Prioritize providers with easy activation and Airtel or Jio network routing. You don’t need many gigabytes for maps, messaging, and ride apps in a city.
Budget traveler, 1–3 weeks: Price-per-GB matters most. Compare providers carefully — rates vary significantly for 10–15GB plans. Some providers offer unlimited plans with speed throttling after a data cap, which works fine for casual use.
Heavy data user or remote worker: Look for providers offering true unlimited plans or large data caps (20GB+) without aggressive throttling. Hotspot usage should also be confirmed — some eSIM plans restrict tethering.
Multi-country traveler (India + Southeast Asia or Middle East): Some eSIM providers sell regional plans covering multiple Asian countries under one package. If your trip spans countries, a regional plan often beats buying separate eSIMs for each destination.
Providers worth researching (comparison shop on current rates): Airalo, Holafly, Nomad, Saily, and Jetpac are among the commonly used options.
Prices and plans change – compare on a platform like eSIMDB or directly on provider sites before purchasing.
How Much Does an India eSIM Cost for Tourists?
Pricing depends on data volume and plan duration. Here’s a realistic range:
Plan Size | Approximate Cost |
1GB / 7 days | $3–$6 USD |
3GB / 15 days | $8–$14 USD |
Save emergency contact number offline | Storing your insurance details only in your email inbox |
5GB / 30 days | $12–$20 USD |
10GB / 30 days | $18–$30 USD |
Unlimited (throttled after 1–3GB/day) | $20–$40 USD for 30 days |
Comparison to physical SIM: A local Jio or Airtel tourist SIM with 1–2GB/day for 28 days costs approximately ₹300–₹600 ($3.50–$7 USD). Cheaper than most eSIMs for the same data volume.
Why pay more for eSIM then? The premium is for convenience – no queue, no document struggle, data working the moment you land. For short trips, the convenience cost is reasonable. For longer trips, a physical SIM starts making economic sense.
Whichever option you choose, you’ll still need some cash during your first few days, especially for small purchases and transport.
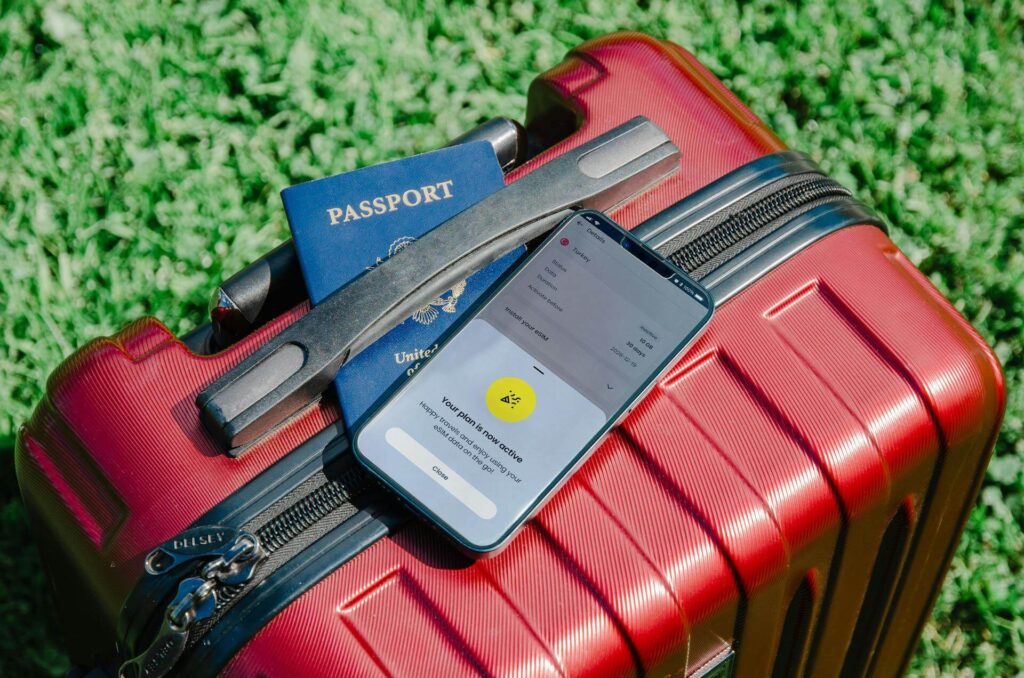
How to Activate eSIM for India Step-by-Step
To activate an eSIM for India: first confirm your phone is eSIM-compatible and unlocked. Purchase a plan from an eSIM provider before departure.
Scan the QR code received by email in your phone’s Settings > Mobile/Cellular > Add Plan. Install it before your flight. Enable it after landing in India and set it as your data SIM. Allow 1–5 minutes for the network to connect.
Full step-by-step:
Step 1 — Confirm phone compatibility Go to Settings and search for “eSIM” or “Add Mobile Plan.” If the option exists, your phone supports eSIM.
iPhones from XS onwards, Samsung Galaxy S20+, Google Pixel 3+, and most recent flagship Android phones are eSIM-compatible. Budget phones often are not.
Step 2 — Confirm your phone is unlocked eSIMs only work on carrier-unlocked phones. If your phone is locked to your home carrier, contact them to unlock it before traveling. This typically takes 24–72 hours to process.
Step 3 — Purchase your eSIM plan Buy online from your chosen provider. You’ll receive a QR code by email — save it somewhere accessible offline (screenshot it, or download it to your camera roll).
Step 4 — Scan the QR code Go to Settings > Mobile Data or Cellular > Add eSIM / Add Plan. Scan the QR code from your provider. Your phone will download the eSIM profile.
Step 5 — Install before your flight (recommended) Install the eSIM profile before you board. It won’t use your India data until you activate it in India, but having it installed means you just switch it on at the airport rather than troubleshooting setup on arrival.
Step 6 — Enable the eSIM on arrival Once in India, go to Settings and switch your data line to the India eSIM. Turn off your home SIM’s data roaming to avoid accidental roaming charges. The India eSIM should connect to Airtel or Jio within 1–5 minutes.
Step 7 — Test immediately Open a browser, load any page, open Google Maps. If data works, you’re done. If not, see the troubleshooting section below.
When Should You Install Your eSIM?
Travelers arriving late at night or during busy immigration hours should also read our India airport arrival guide to avoid common first-day mistakes after landing.
Best answer: install it before you board, activate it when you land. Here’s why timing matters:
Installing requires a stable internet connection and a few minutes of focus. Doing it at home or in a departure airport lounge – where you have reliable Wi-Fi is far easier than troubleshooting on your phone in an arrivals hall at 2am.
You cannot activate (use) your India eSIM until you’re in India – the network won’t connect before you arrive. But the profile can be installed days in advance.
If you forgot to install before travel: Airport arrivals areas in major Indian cities (Delhi, Mumbai, Bangalore) have reasonable Wi-Fi pockets. Use the airport Wi-Fi to complete installation – it’s inconvenient but workable.
One timing risk: Some eSIM plans have their data validity period start from purchase date, not activation date. Read the plan terms carefully.
A “30-day plan” starting from purchase means you’ve already used 3 days of it by the time you land if you bought it before departure.
Common eSIM Problems in India (and Fixes)
Problem: eSIM installed but no data connection Fix: Go to Settings > Mobile Data > eSIM and confirm it’s set as the active data line. Check that data roaming is enabled on the eSIM (not just on your home SIM). Toggle airplane mode on and off to force a network search.
Problem: eSIM shows “No Service” Fix: Manually select the network. Go to Settings > Mobile Network > Network Selection > Manual. Look for Airtel or Jio and select it. Wait 30 seconds. If neither appears, you may be in a low-coverage area — try again when you move.
Problem: QR code won’t scan Fix: Ensure your phone camera is clean. Screenshot the QR code and scan it from your camera roll if direct scanning fails. Some providers also offer a manual activation code as an alternative to QR — request it from customer support.
Problem: eSIM activates but data is extremely slow Fix: Confirm you’re connected to 4G/LTE, not 2G. Go to Settings > Mobile Network > Preferred Network Type and set it to 4G/LTE. Some phones default to lower speeds on a new SIM profile.
Problem: OTPs for Uber, banking apps, or hotel check-in systems not arriving This isn’t a malfunction — it’s a limitation. Most tourist eSIMs are data-only and don’t receive SMS.
For apps that require OTP verification to an Indian number, you’ll need either a physical SIM or to set up the app before you arrive using your home number.
Best Mobile Network Coverage in India for eSIM Users
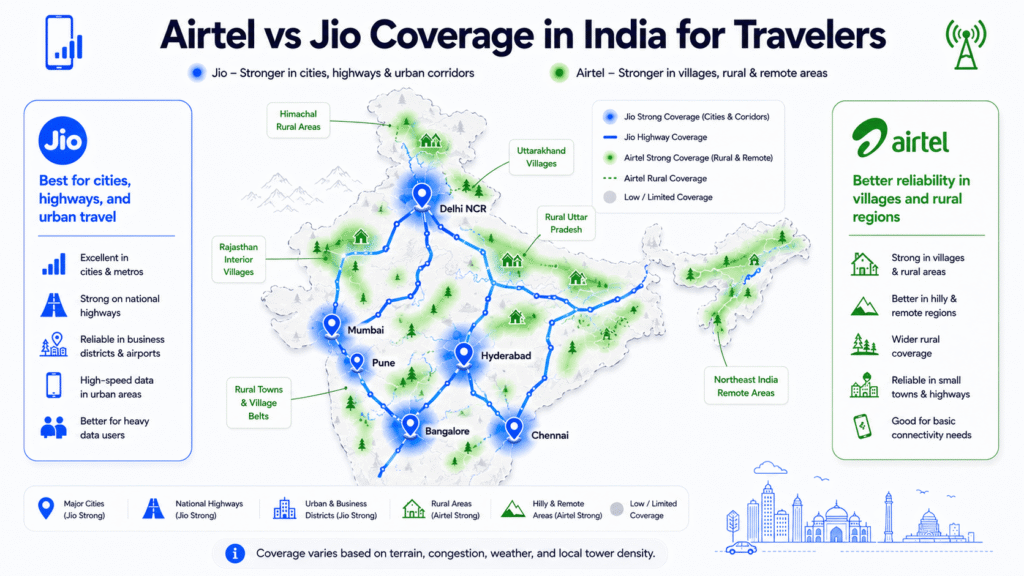
Most international eSIM providers route through one of two networks:
Jio: Excellent 4G coverage, especially in rural areas. Strong value for travel beyond major cities. More disruptive in remote terrain but still the best rural option.
Airtel: Faster in many urban centers. Slightly more consistent in-building penetration in cities. Preferred by many frequent India travelers for city-heavy trips.
Vi (Vodafone Idea): Less commonly offered by eSIM providers, and the network has been struggling financially. Avoid if possible.
When choosing an eSIM plan, check which network the provider routes through and cross-reference with your travel itinerary.
For Rajasthan, Kerala, Goa, and most tourist circuits, either Jio or Airtel works well. For Northeast India or high-altitude Himalayan travel, check coverage maps specifically.
Does India eSIM Support 5G?
Yes – some India eSIM plans support 5G, but availability depends on three things:
- your phone,
- your eSIM provider,
- and the local Indian network coverage.
India’s two largest mobile networks – Jio and Airtel – have expanded 5G rapidly across major cities including:
- Delhi,
- Mumbai,
- Bangalore,
- Hyderabad,
- Chennai,
- Kolkata,
- Pune,
- and Jaipur.
If your eSIM provider routes through Airtel or Jio and your phone supports international 5G bands, your device may automatically connect to 5G where available.
However, many travel eSIM providers still prioritize stable 4G/LTE connectivity over guaranteed 5G access. In practice, most travelers use LTE speeds during their trip, which are already fast enough for:
- Google Maps,
- WhatsApp,
- video calls,
- ride apps,
- streaming,
- and remote work.
Important Things to Check Before Buying
Before purchasing an India eSIM, confirm:
- whether the provider advertises 5G support,
- whether hotspot/tethering is allowed,
- and whether your phone supports India-compatible 5G bands.
Even with a 5G-capable plan, speeds can vary depending on:
- congestion,
- building penetration,
- rural coverage,
- and local network conditions.
Is 5G Necessary for India Travel?
For most tourists, not really. A reliable LTE/4G connection is more important than peak speed.
India’s 4G networks are already strong across major tourist destinations and are fully capable of handling navigation, bookings, messaging, and everyday travel needs.
If your trip includes remote mountain regions or rural areas, overall network coverage matters far more than whether the connection says “5G” in the status bar.
Can You Use eSIM for Uber, Maps, and OTPs in India?
Google Maps: Works perfectly on eSIM data. Download offline maps for your destinations before arrival as a backup.
Uber and Ola: The apps work fine with data. Payments can be made through the app using your home card. However, driver communication sometimes involves calls or SMS – if you don’t have an Indian number, in-app chat is your fallback.
WhatsApp: Works on data. Most Indian contacts and guesthouses communicate on WhatsApp, making this one of the most important apps to have running.
If you’re unsure which apps are actually useful during an India trip, our guide to the best travel apps for India covers navigation, taxis, train booking, food delivery, and digital payments.
OTPs for banking and booking apps: This is where many travelers run into problems. Indian services – including some hotel check-in systems, train booking platforms (IRCTC), and banking apps – send OTPs to Indian phone numbers for verification. A data-only eSIM can’t receive these.
Practical fix: Set up all apps that need Indian number verification before arriving. Use your home number for initial setup. For apps that absolutely require an Indian number mid-trip, a backup local physical SIM is the only real solution.
Safety Tips for Using eSIM in India

Back up your QR code: Save the eSIM QR code in multiple places — email, cloud storage, photo library. If you need to reinstall the eSIM (after a factory reset, for example), you’ll need it again. Some providers only let you use a QR code once – check this in advance.
Keep your home SIM active in dual SIM mode: Don’t disable your home SIM entirely. Keep it active on a secondary line with roaming data turned off.
This lets you receive calls and important messages on your home number while using India eSIM data.
Don’t share your phone’s mobile hotspot carelessly: If you’re tethering other devices, monitor data consumption. A laptop streaming video through your phone’s hotspot burns through a 5GB eSIM plan fast.
Use your banking app on secure connections: Avoid accessing banking apps on open public Wi-Fi. Your eSIM data connection is more secure than most hotel or café Wi-Fi networks.
Note your eSIM provider’s support contact: Before you travel, save the customer support email or chat link.
If your eSIM fails on arrival, you need to reach support quickly – and you’ll need data to do so, which creates a catch-22. Having a screenshot of the support contact page solves this.
Travelers withdrawing cash after arrival should also understand how foreign cards work at Indian ATMs, including withdrawal fees and common security precautions.
Best Strategy for Using eSIM in India
Follow this sequence for a connectivity setup that works before, during, and after arrival.
STEP 1 – Decide: eSIM or Physical SIM?
eSIM if: your trip is under 2 weeks, your phone is eSIM-compatible and unlocked, and you want data working the moment you land. Physical SIM if: your trip is longer than 2 weeks, you need an Indian phone number, or you want the cheapest possible data rates.
STEP 2 – Install eSIM Before Departure
Buy your plan, scan the QR code, and install the eSIM profile at home or in your departure airport. Do not leave this for the arrivals hall in India. Screenshot the QR code and save it offline.
STEP 3 – Keep a Backup Plan Ready
Know where the SIM counters are in your arrival airport. Have the name of one local carrier (Jio or Airtel) in mind in case your eSIM fails. Carry your passport and a passport photo for SIM registration if needed.
STEP 4 – Confirm Phone Compatibility First
Check your phone is eSIM-capable and unlocked before buying anything. A non-refundable eSIM plan on an incompatible or locked phone is money lost. Check this at home, days before travel.
STEP 5 – Activate at the Right Moment
After landing, before leaving the arrivals terminal: enable the eSIM, set it as your data line, turn off roaming on your home SIM, and test data. Do this before you need it — not mid-ride to your hotel.
STEP 6 – Download Offline Maps Before You Need Them
Use Wi-Fi (at home, departure airport, or hotel) to download Google Maps or Maps.me offline for your destinations. Your eSIM data will cover most situations, but offline maps eliminate the risk.
STEP 7 – Run Dual SIM Where Possible
Keep your home SIM in the phone. Assign your India eSIM as the data line. Your home SIM stays active for calls and messages from home without burning roaming data.
This setup uses your home number for OTPs and keeps India eSIM handling all browsing and apps.
Do this / Avoid this:
Do This | Avoid This |
Confirm phone is eSIM-compatible and unlocked before buying | Buying an eSIM plan first and checking compatibility second |
Install eSIM profile before departure | Trying to scan a QR code on bad airport Wi-Fi after 12 hours of travel |
Screenshot QR code and store it offline | Relying only on email access for QR code retrieval |
Set India eSIM as data line and disable home roaming | Leaving home roaming enabled and getting charged for accidental roaming |
Download offline maps before landing | Depending entirely on live data in low-coverage mountain areas |
Check if your plan permits hotspot/tethering | Using your phone as a hotspot on a plan that throttles tethering |
Keep your provider’s support contact saved offline | Needing support and having no way to access their website without data |
Choose a plan routed through Jio or Airtel | Buying a plan without knowing which Indian network it uses |
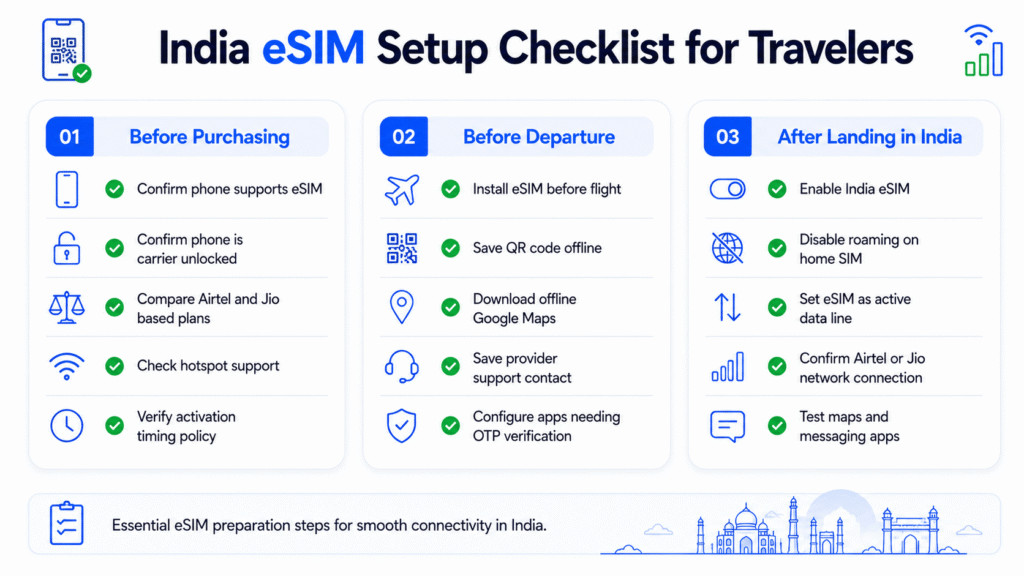
Final eSIM Setup Checklist for Travelers
If you decide a local SIM makes more sense, here’s exactly how to buy and activate one after arriving in India.
Before purchasing:
- Confirmed phone is eSIM-compatible (check Settings for “Add Mobile Plan”)
- Confirmed phone is carrier-unlocked
- Compared eSIM providers for India (Airtel or Jio network, plan size, hotspot permitted)
- Checked whether plan validity starts from purchase or activation
Before departure:
- eSIM plan purchased and QR code received by email
- QR code scanned and eSIM profile installed on phone
- QR code screenshot saved offline (camera roll + cloud)
- eSIM provider support contact saved or screenshotted
- Offline maps downloaded for India destinations
- All apps requiring OTP verification set up using home number
On arrival in India:
- eSIM enabled in Settings > Mobile/Cellular
- India eSIM set as active data line
- Home SIM data roaming turned off
- Network connected (Airtel or Jio appearing in status bar)
- Data tested — browser, maps, messaging app
During trip:
- Monitor data usage for plans with hard caps
- Use Wi-Fi at hotels to conserve eSIM data
- Keep offline maps accessible for low-coverage areas
- Have backup SIM counter location in mind for each major city
Conclusion

Arriving in India without working mobile data can quickly become stressful – especially after a long international flight. For most travelers, using an India eSIM for tourists is the easiest way to stay connected from the moment you land.
It removes the hassle of airport SIM queues, avoids expensive roaming charges, and gives you instant access to maps, ride apps, WhatsApp, and online bookings across India.
If your trip is short and convenience matters most, an India travel eSIM is usually the best choice. If you’re staying longer and need an Indian phone number for OTPs and local calls, a physical SIM card may offer better value.
The most important step is preparing before departure. Confirm your phone supports eSIM, install your plan before flying, and keep offline backups ready.
Once that’s done, you can land in India with mobile data already working – instead of searching for Wi-Fi in a crowded arrivals hall.
FAQs about Best India eSIM for Tourists
Does eSIM work in India for tourists?
Yes, eSIM works in India for most tourists using compatible unlocked phones. International eSIM providers connect through Airtel or Jio networks.
Which is the best eSIM for India travel?
The best India eSIM depends on your budget and trip length. Airalo, Nomad, Holafly, Saily, and Jetpac are among the most popular options.
Can foreigners use eSIM in India?
Yes. Foreign travelers can buy and activate international India eSIM plans online before arriving in India.
Is eSIM better than a physical SIM in India?
eSIM is more convenient for short trips, while physical SIM cards are cheaper for longer stays and include an Indian phone number.
Do India eSIMs include a phone number?
Most India travel eSIMs are data-only and do not include Indian calling or SMS support.
Can I use Uber and Google Maps with an India eSIM?
Yes. Uber, Ola, Google Maps, WhatsApp, and most travel apps work normally using eSIM mobile data.
Does Airtel or Jio work better for eSIM in India?
Jio usually has stronger rural coverage, while Airtel often performs better in major cities and urban areas.
How do I activate an India eSIM?
Buy a plan online, scan the QR code in your phone settings, install the eSIM profile, and enable it after landing in India.
Why is my India eSIM not working?
Common causes include inactive roaming settings, wrong data SIM selection, unsupported devices, or weak network coverage.
Can I keep my home SIM active while using an India eSIM?
Yes. Most dual-SIM phones allow you to keep your home SIM active for calls and OTPs while using the India eSIM for mobile data.
Can I buy an India eSIM before arriving?
Yes. Most travelers purchase and install their India eSIM before departure, then activate it after landing in India for immediate mobile data access.
Images: Pexels
